Little Star

baby-card-for-jen2

Thank you for stopping by today!

I finished a baby shower card for my cousin’s daughter. There’s always a moment, when I’m making a card, that I think ‘There’s a Dollar Store half-a-mile away with a whole LOT of cards.’ But, I get through that moment and continue to work on the card. A little chocolate helps, too!

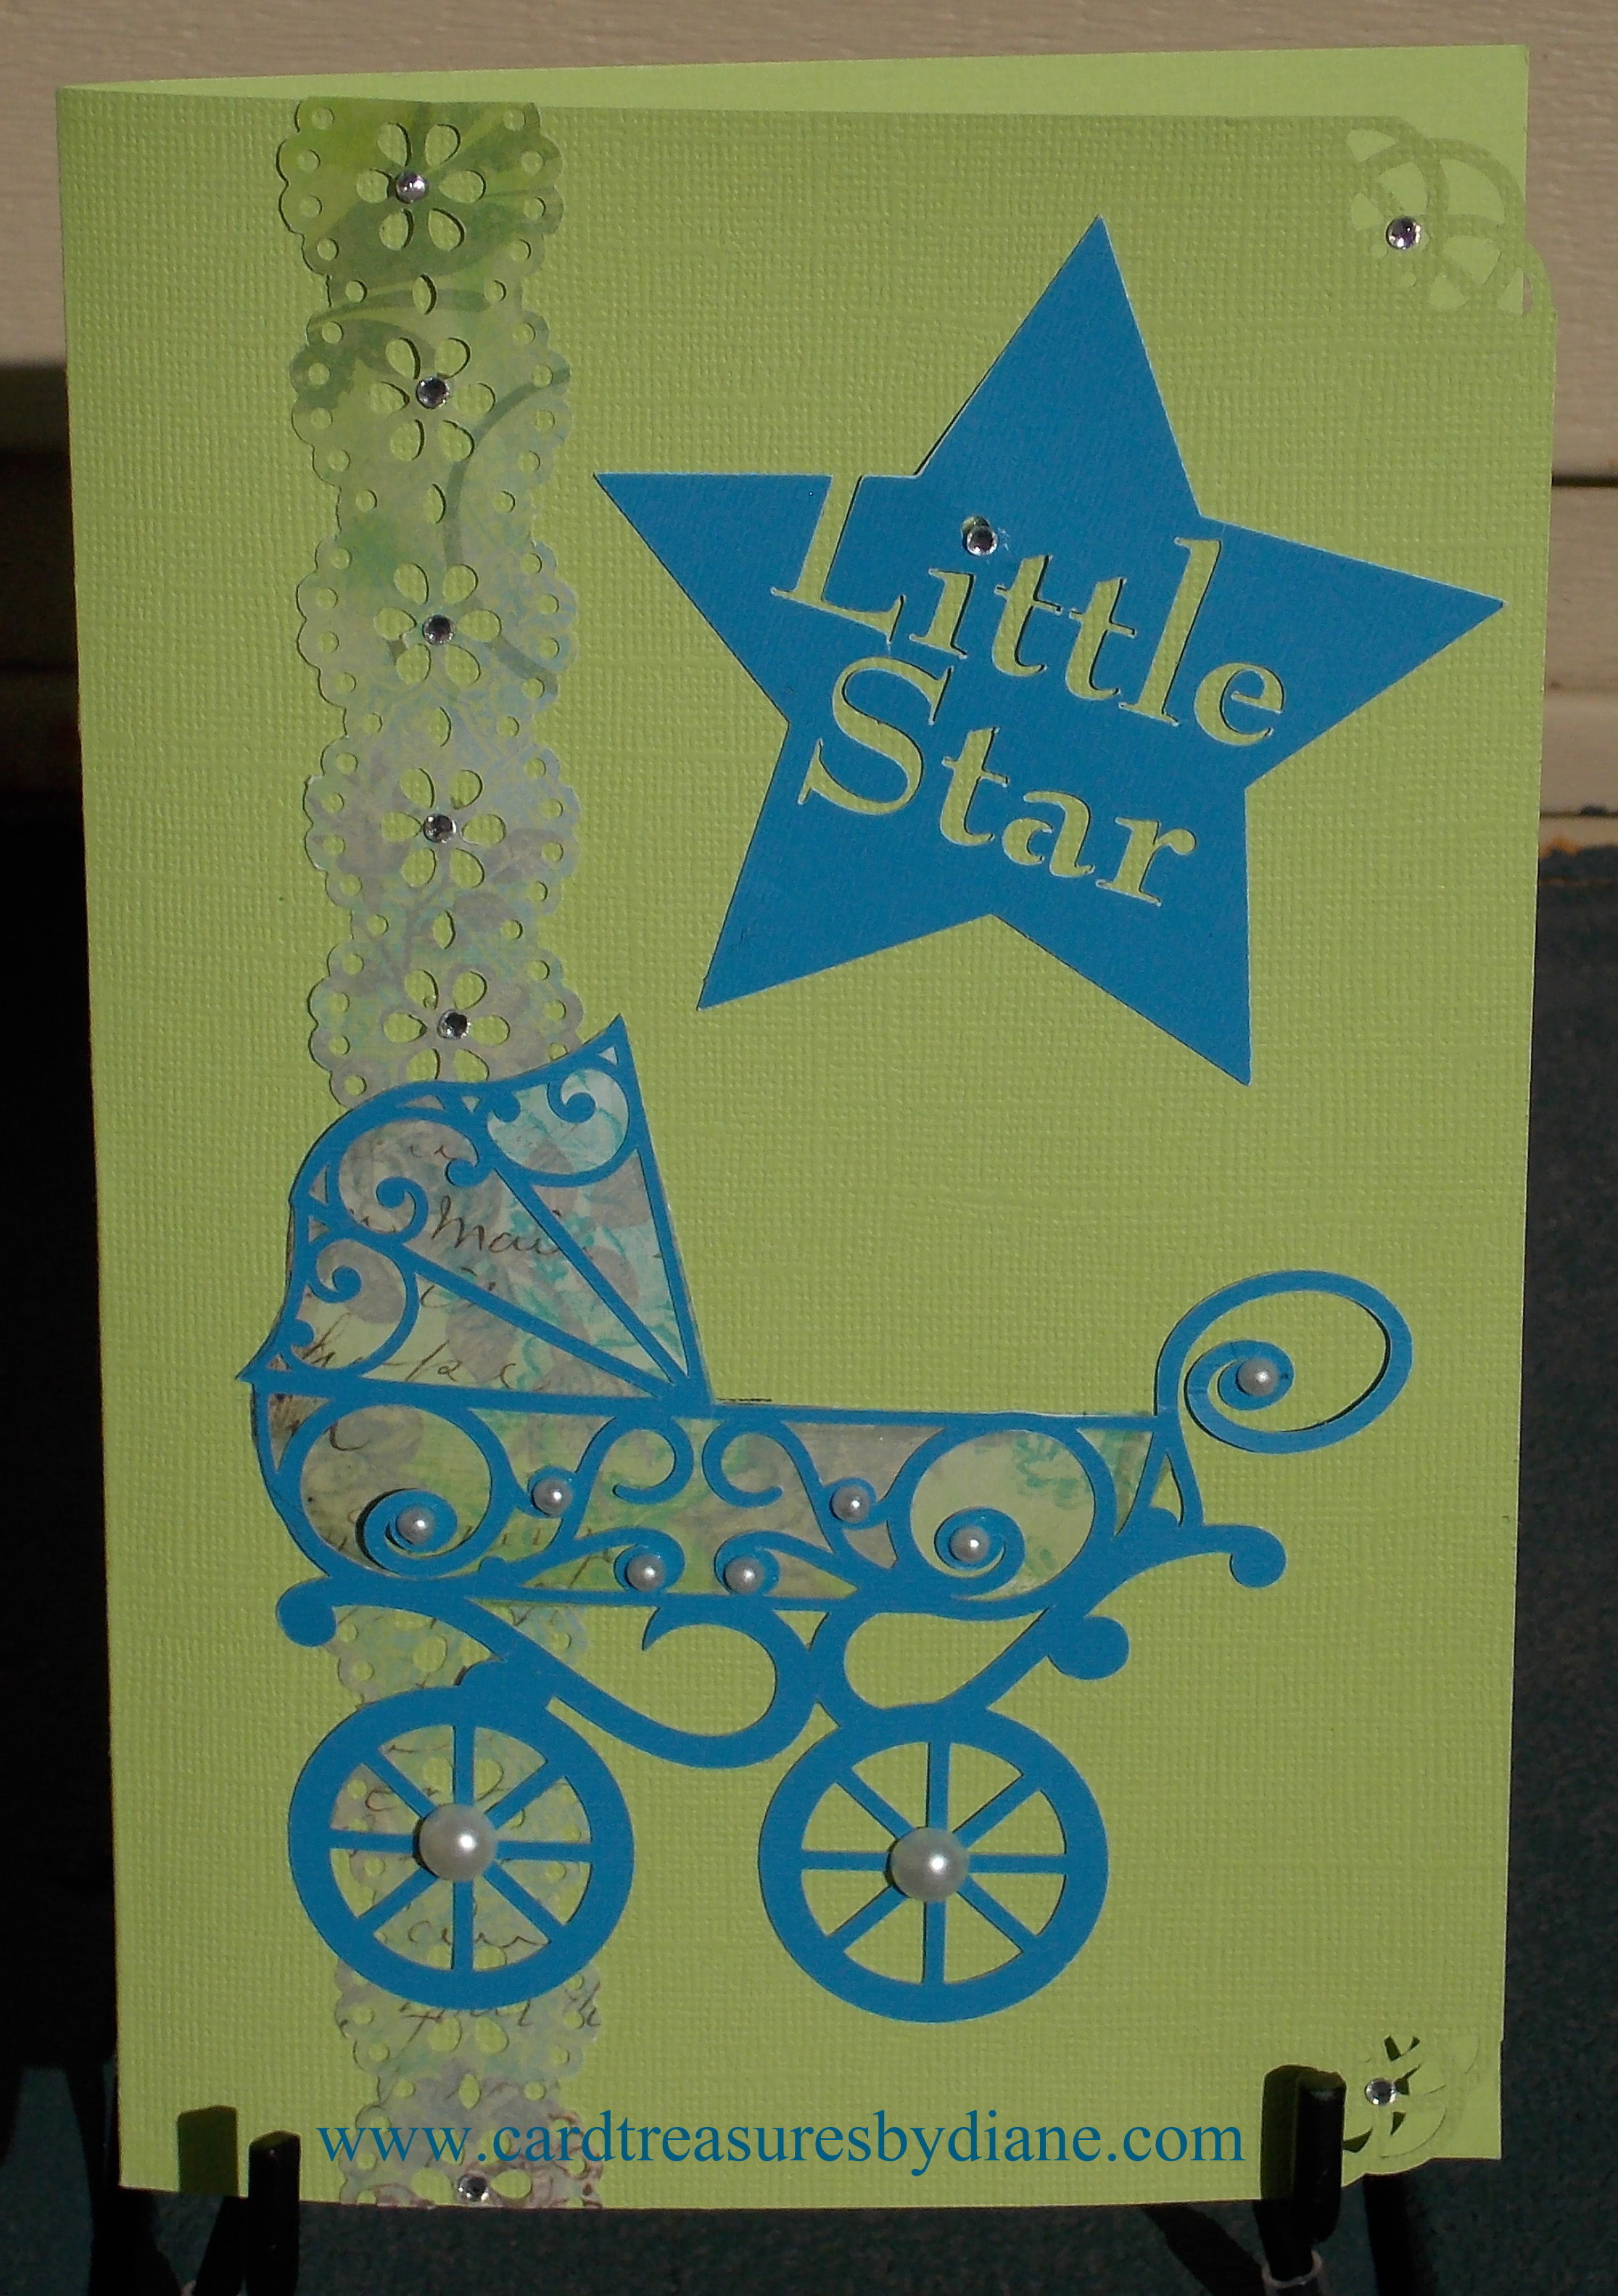
I cut out the baby buggy and the star with my Silhouette Cameo. I used the ‘Flourish Baby Buggy’ and ‘Little Star’ images from the Silhouette Design Store. I added a print background on the buggy, as well as a couple different sizes of faux pearls.

I used the Martha Stewart Deep Double Edger Punch-Doily Lace Trim-to cut out the strip that runs down the side, in the same print paper as the baby buggy. I added faux gemstones down the middle of the strip; on the ‘i’ in the Little Star; and also on the two corners (punched with the Martha Stewart Corner Punch-Swirling Lace).

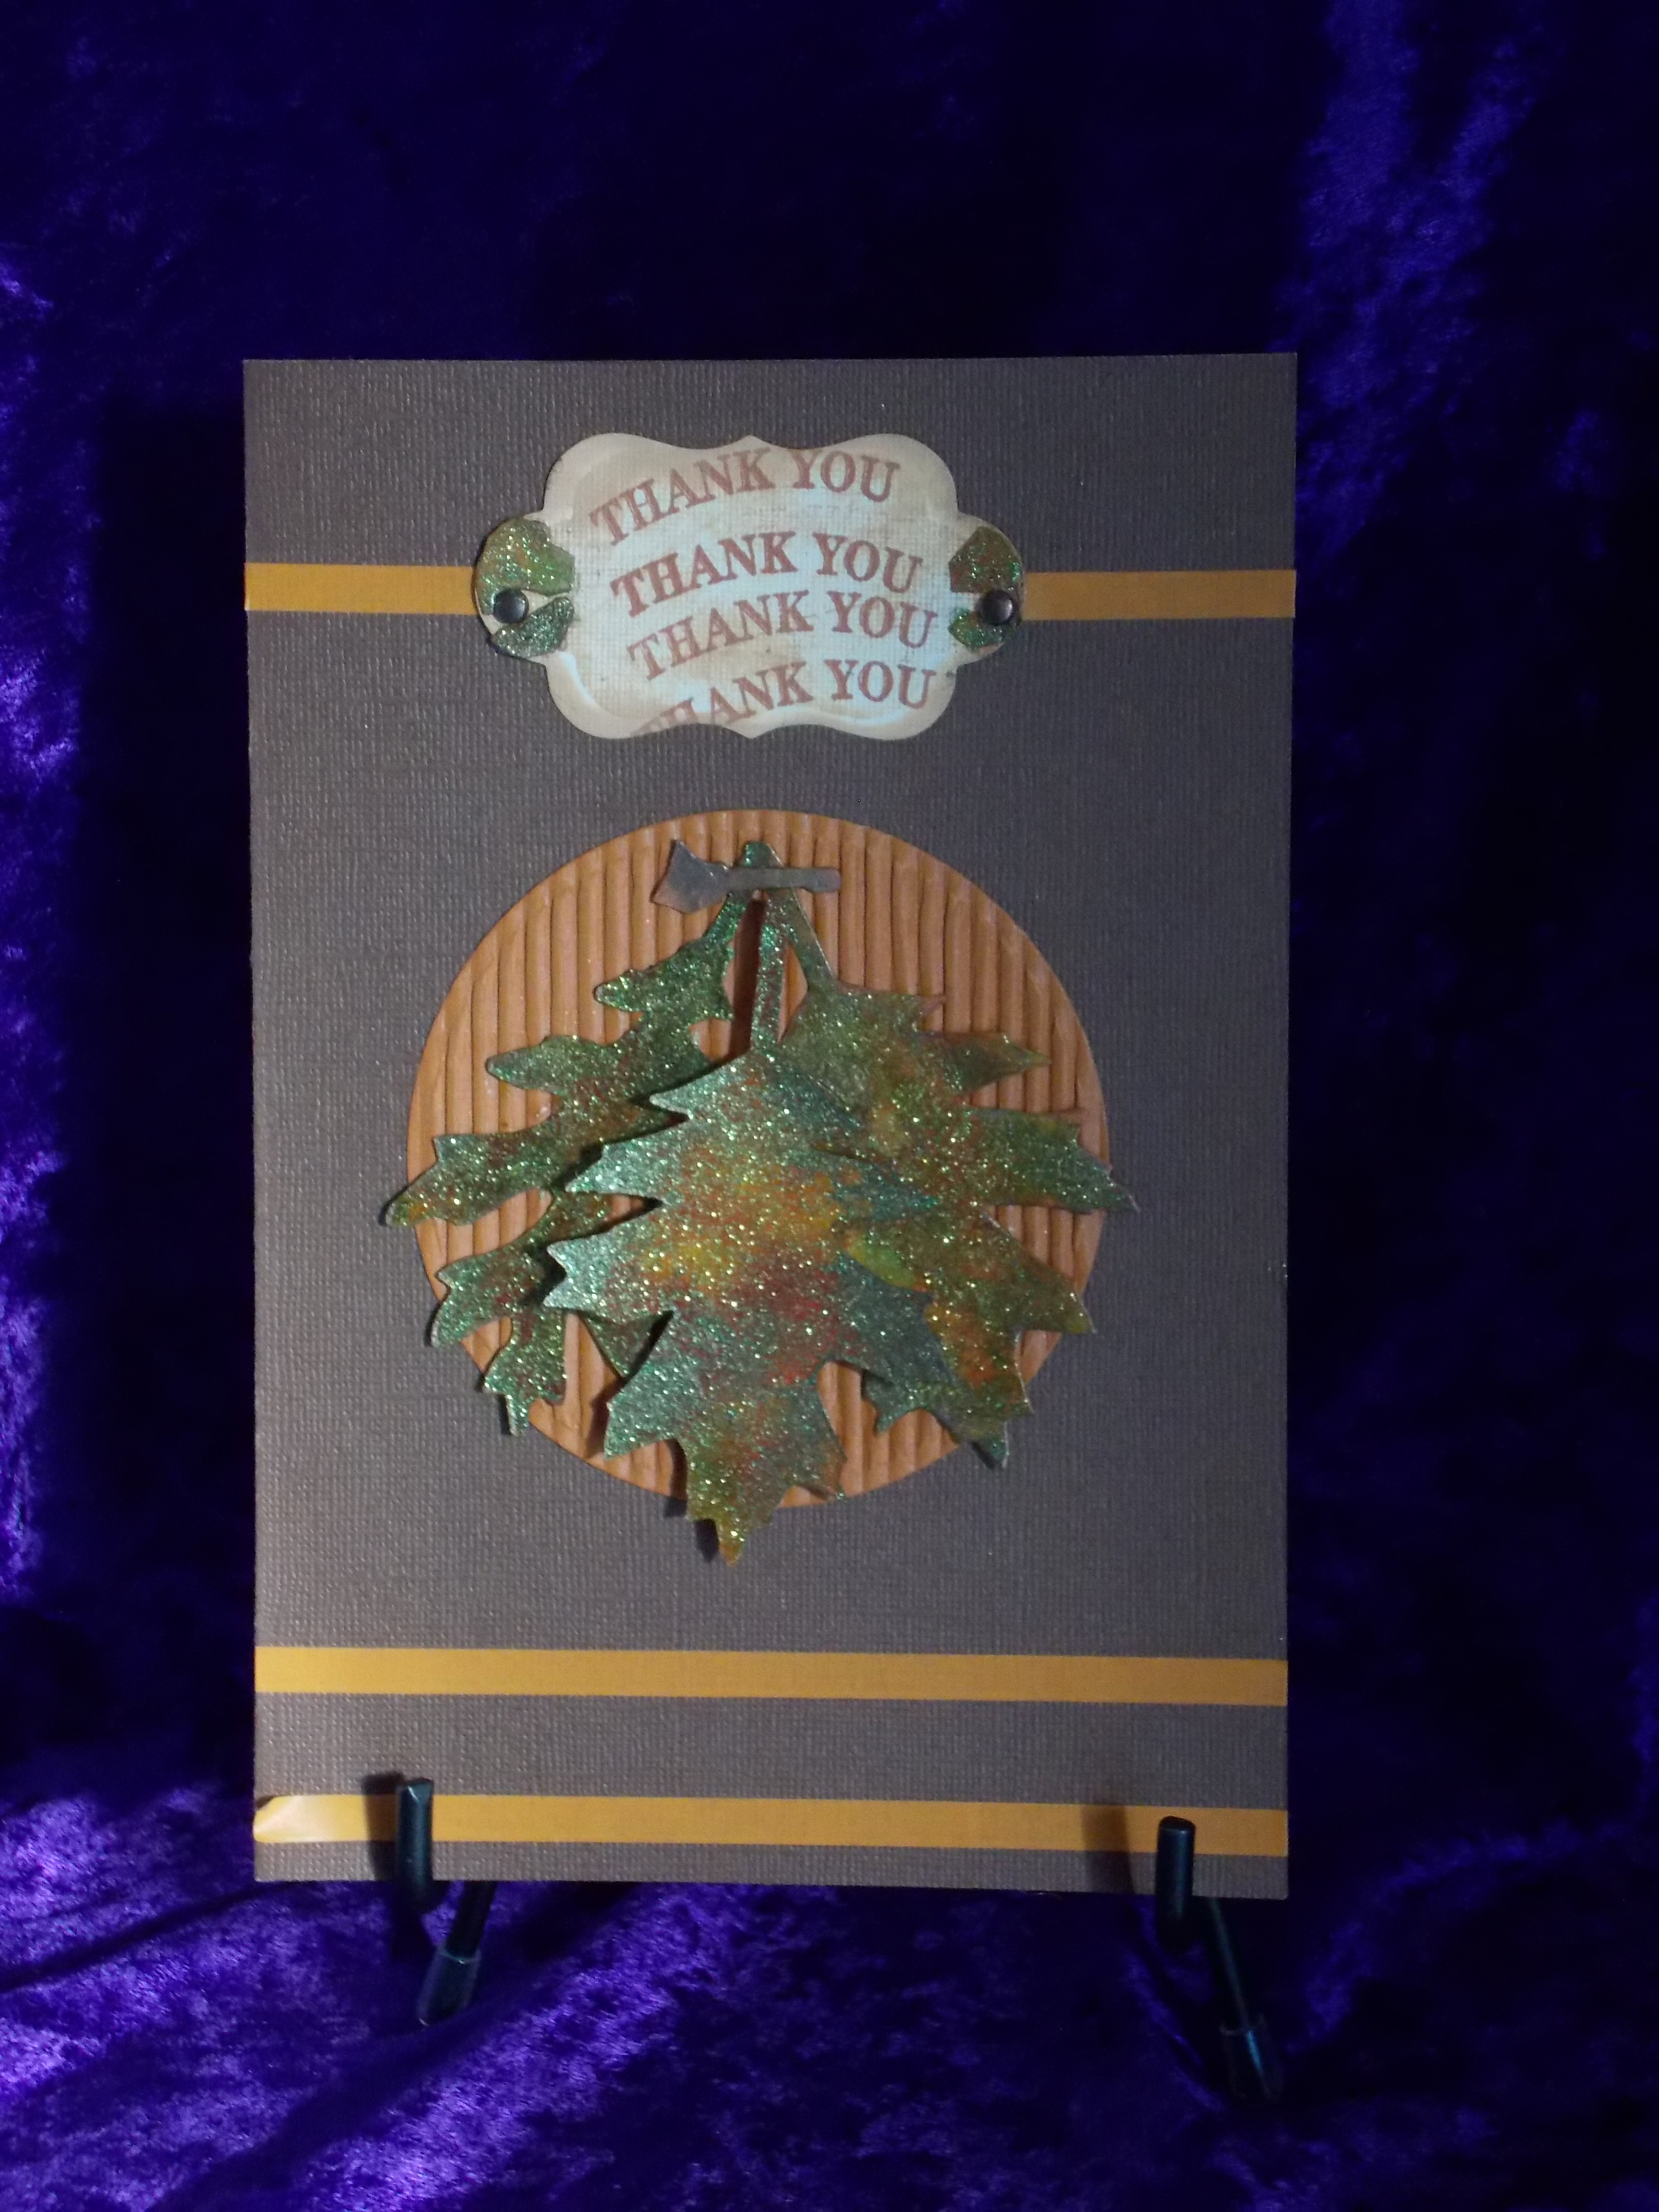
Today I tried out the Sizzix Magnetic platform for the first time with my Big Shot. I loved it! I used a couple of Spellbinders Nestabilities dies to make frames on the inside of the card. It made cutting these frames so much easier, especially the sentiment frame. So worth the money, especially since I got it at Michael’s at 50% off!

The cardstock was Grassroots and Blue Shimmer.

~Have a blessed day!~

Autumn Leaves


three-leaves

I’m a newbie at making cards so pretty much everything, at this point, is a learning experience. Today I learned to take care of the things that I need to do for the day BEFORE I start to create a card. Once I get into making the card, my focus is there and everything else fades away.

I used the following materials, as well as my Big Shot, to create this card:

  • 3-3/4″ LG Standard Circle Spellbinders Nestabilities die to cut out the circle on orange corrugated paper.
  • 2-7/8 x 1-5/8″ Petite Labels One (Scalloped) Spellbinders D-Lites die on ivory paper to create the ‘Thank you’ sentiment. In addition to cutting the image, this die also embossed the paper. I used Ranger Sepia Archival Ink for the sentiment and distressed it with Ranger Tea Dye Distress Ink. I added a brad on each side, along with some pieces cut from one of the extra leaves.
  • The main cardstock was French Roast by Coredinations (Joanne’s).
  • I cut out the leaves with the Sizzix BIGZ Tattered Leaves die. I used gold, brown, orange, and green alcohol inks, and added the metallic look, by sponging the leaves lightly, with DecoArt Metallic Lustre-Iced Expresso. I frosted the leaves, as well as the pieces beside the sentiment, with FolkArt Extreme Glitter-Peridot. To give the leaves a 3D effect, I anchored the middle leaf with three pieces of Therm-o-web 3-D foam squares.

Patty Bennett has a wonderful YouTube video, that inspired me to create the background for the fall leaves:

http://www.pattystamps.com/pattys_stamping_spot/2016/09/fall-leaf-watercolor-wash-background-video-tutorial.html

  • I used 1/4″ Scor-Tape to anchor the two outer leaves, sentiment, and circle. In the past, I’ve tried different kinds of adhesives to anchor things, but Scor-Tape works the best for me. I love that it can be torn using my fingers versus using a scissor to cut it.
  • I finished the card by adding two strips of orange washi tape along the bottom and added a strip on each side of the sentiment.

This was the first Autumn card I’ve made so I hope that you liked it!!!


Harvest Moon

damonsbday-card-4

My grandson loves wolves, so I decided to go with a wolf theme for his birthday. The sentiment, trees, and wolf were cut using my Silhouette Cameo. For the moon, I used a Spellbinders Nestabilities LG Standard Circle die, with my Sizzix Big Shot. The moon and sentiment were cut from Craft Smith Watercolor paper (from Michael’s). The background color of the card was Onyx (Joanne’s)-I really liked the shimmer. He loved the card-I got three hugs when I gave it to him!