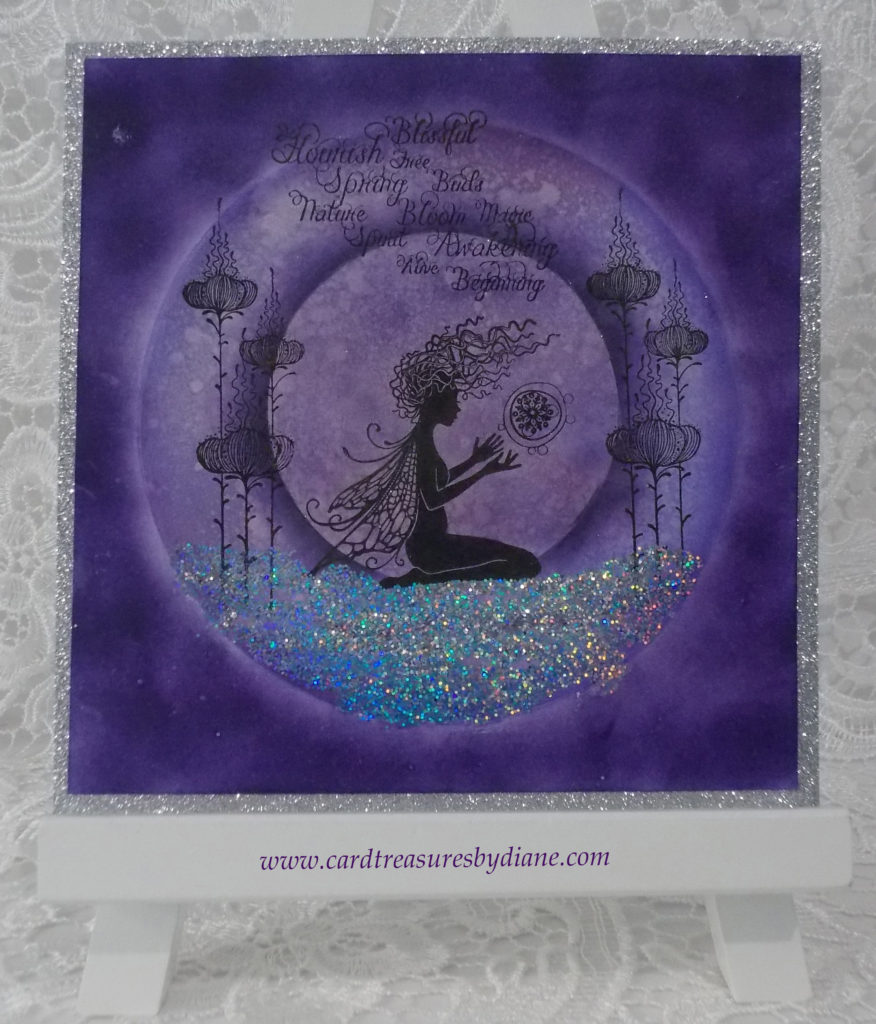
I created this card with Lavinia stamps, a gel plate, ColorBox Dye ink, VersaFine Clair inks, and lots of Moon Dust sparkle.
I’ve entered this card in the February Lavinia Stamps Challenge!
To start the card, I used a brayer to apply Grape ColorBox ink to the entire surface of a round gel plate. I placed a sheet of Multifarious cardstock on the gel plate, smoothed it with my fingers, and pulled off the print. I wasn’t sure how it would look if I sprayed Tattered Angels Glimmer Mist over the print, but I liked the sparkle and the variations in the end result. Next, I used Nocturne VersaFine Clair ink to stamp the Lavinia Stamps images.
I used FlitterGlu and a paintbrush to create the snow under Aria, with Holographic Moon Dust sprinkled over it. I wish you could see how much the Moon Dust sparkles…it’s absolutely beautiful, especially close up! There are several amazing colors in it. I do need to try another type of adhesive though because some of the glitter still flakes off. I’ve had success using this glue in the past in this way, but I think it was with a less substantial glitter.
To create the moon. I sponged Fantasia VersaFine Clair around the outside of a transparency circle using a Picket Fence blender brush. I applied Fantasia, with a larger Picket blender brush, on the remainder of the card. As I was doing this, I noticed it was hard to get the Fantasia ink close to the outside of the circle that had been created with the gel plate. It was frustrating me until I had the thought that maybe it was Crafters’ Synchronicity. It looked like there was a white glow around the circle because of it!
A clear Stardust Gelly Roll pen outlined the moon, the outer circle, and the fairy’s wings to add a little more sparkle. To finish the card, I used Scor-Tape to attach the multifarious cardstock to the silver glitter cardstock.
Materials Used:
- Multifarious Card
- Core’dinations Cardstock, Silver Mist
- Lavinia Stamps: Aria, Luna Lights, Words of Spring, Mini Orbs, and Snowflakes. (Tracey Lavinia Dutton is the artist of the Lavinia stamps.)
- Holographic Moon Dust (Lavinia Stamps)
- Stephanie Barnard ColorBox Premium Dye Ink: Grape
- VersaFine Clair Inks: Nocturne and Fantasia
- Gel Press Gel Printing Plate, 6” Round
- Speedball Pop-In Soft Rubber Brayer, 4”
- Picket Fence Studios Life Changing Blender Brushes
- Transparency Film Circle (I’ve cut out several different sizes of circles from this material to create moons. The great thing is you can use these circles over and over again, and it’s clear so it’s easy to see the best placement for it.)
- Stardust Gelly Roll Pen, Sakura, Clear
- Tattered Angels Glimmer Mist
- IndigoBlu FlitterGlu
- Tim Holtz Stamp Platform
- Tim Holtz Glass Media Mat
- Fiskars Procision Rotary Bypass Trimmer (12”)
- Scor-Tape: 1/2″
- Baby Wipes/Paper Towels
Thanks for stopping by my website! Have a beautiful day!!!
Diane