Before the Storm

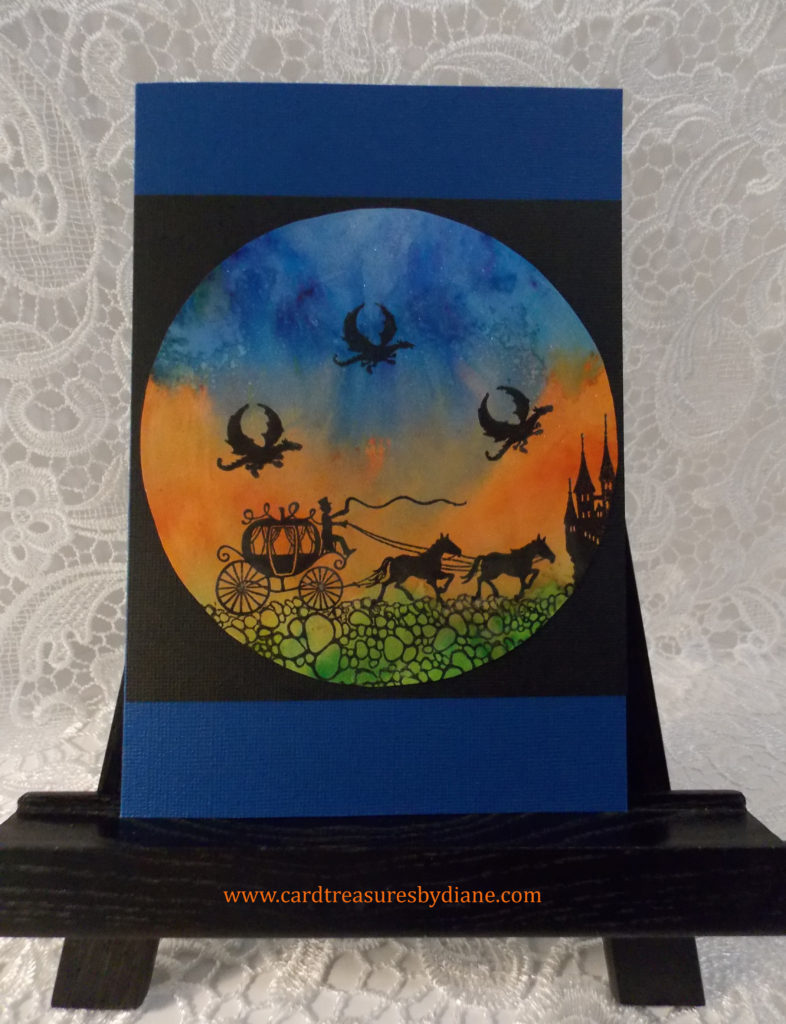
I created this card using Lavinia Stamps, a gel plate, ColorBox Dye Inks, and Brusho Crystal Colours.

I used a brayer to apply three colors of ColorBox ink horizontally on the gel plate: Bahama, Coral, and Olive. I inked the brayer directly from the ink pads and cleaned it between each color by rolling it several times on extra sheets of paper. (I cleaned the brayer after the final color by running it under water.)

I sprinkled Brushos over the similar colors of ColorBox inks and misted the gel plate with water. I put the mixed media paper on the gel plate; smoothed it lightly with my fingers; and pulled off the print. I misted the paper again and tilted it around to distribute the colors.

After the paper had dried, I stamped the Lavinia Stamps images. The Stones stamp isn’t quite as large as pictured on my card. After using the whole stamp in a couple areas, I inked just the edge of it a few times and stamped those stones beside the other ones.

The overall color looked a little dull so I used a paintbrush to add some Tattered Angels Glimmer Mist to brighten it and add sparkle.

I cut out the circle by hand; adhered it to the black cardstock with Scor-Tape; and attached that to the Royal cardstock.

Materials Used:

  • Strathmore Mixed Media Paper, Vellum Surface, 117 lb., 9”x12”
  • Core’dinations Sand it, Tear it, Emboss it, Love it Cardstock, Royal
  • Black Cardstock
  • Gel Press Gel Printing Plate, 6” Round
  • Lavinia Stamps: Horse and Carriage, Silhouette Castle, Dragon (Miniature), and Stones (Small). (Tracey Lavinia Dutton is the artist of the Lavinia stamps.)
  • Colourcraft Brusho Crystal Colour: Ultramarine, Orange, and Leaf Green
  • ColorBox Premium Dye Ink: Bahama. Coral, and Olive (These dye inks worked well with the gel plate. There are ColorBox pigment inks-but online comments indicated that these inks take a long time to dry.)
  • Tsukineko VersaFine Clair, Nocturne
  • Speedball Pop-In Soft Rubber Brayer, 4”
  • Tattered Angels Glimmer Mist
  • Ranger Mister
  • Tim Holtz Stamp Platform
  • Tim Holtz Glass Media Mat
  • Martha Stewart Scoring Pad/Fiskars Dual Tip Embossing Stylus
  • Fiskars Procision Rotary Bypass Trimmer (12”)
  • Scor-Tape: 3/8”
  • Baby Wipes/Paper Towels

I’ve entered this card in the July Lavinia Stamps Challenge…fingers crossed!

Have a magical day!!!

Diane

Happy Birthday-Shaker Card

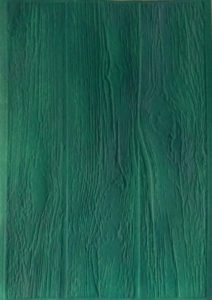
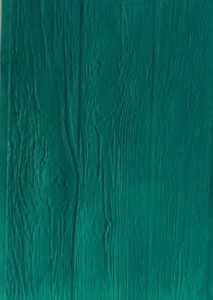
I created this card using the Lumber 3-D Texture Fades Embossing Folder, Brusho Crystal Colours, an Avery Elle Double Pierced Circle die, and Peacock Feathers Distress Ink.

This is the first shaker card I’ve made so I learned a few things…that it’s better to add less of the shaker filler so it moves easier when you shake the card. I should have used half the amount pictured above. And, plastic filler might not be the best choice for a shaker card if it’s being mailed. I sent this card to my son, who lives where the temps have been above 100 degrees. He said that it looked like some of the filler had melted. Next time, sequins.

The 3-D Texture Fades are thicker than standard embossing folders. To begin, I lightly misted both sides of the watercolor paper, to soften the fibers, before placing it in the folder. I put the folder on the multipurpose platform base, plus Tab 1; placed a cutting pad on top of the folder, and ran it through my Big Shot a few times. The folder acts as one of the cutting pads because of its thickness.

Next, I put some strips of Peacock Feathers Distress Ink on my glass media mat, misted them with water, and used a paintbrush to ‘paint’ the aqua color onto the embossed paper. Once it was dry, an Avery Elle die was used to cut a circle to make it a shaker card.

I basically attached a piece of an acetate sheet behind the window and added a transparent bag that I had filled with plastic stars, and adhered this with Scor-Tape. I want to try a different technique on my next shaker card, maybe using foam mounting tape instead of Scor-Tape to elevate the filler area. So thankful for YouTube videos!  

I adhered the ‘Lumber’ cardstock to the orange cardstock and then to the white cardstock base. I had some scrap pieces of watercolor paper left from a couple of weeks ago, that I had sprinkled with Brusho crystals and misted with water. I added these to the card, along with the Happy Birthday sentiment.

Materials Used:

  • Strathmore Watercolor Paper, Cold Press, 140 lb.
  • Core’dinations Sand it, Tear it, Emboss it, Love it Cardstock, Orange
  • Park Lane Paperie, White Core, Smooth, 110 lb., Cardstock Base (Joanne’s)
  • Sizzix 3-D Texture Fades, Lumber, 662718
  • Avery Elle Doubled Pierced Circles Die, D-04-04
  • Colourcraft Brusho Crystal Colour: Gamboge and Sea Green
  • Ranger Tim Holtz Distress Ink, Peacock Feathers
  • HAPPY BIRTHDAY sentiment is from Adorable Elephants set, BB-28
  • Tsukineko VersaFine Clair, Nocturne
  • Ranger Mister
  • Celebrate It Transparent Archival Bag, 3” x 4”
  • Iridescent Glitter Shapes (Stars)
  • Tim Holtz Tonic Stamp Platform
  • Tim Holtz Glass Media Mat
  • Martha Stewart Scoring Pad/Fiskars Dual Tip Embossing Stylus
  • Fiskars Procision Rotary Bypass Trimmer (12”)
  • Scor-Tape: 1/4” and 3/8”
  • Baby Wipes/Paper Towels

Machine:

  • Sizzix Big Shot, with two cutting pads, and the magnetic platform for the Avery Elle die
  • Sizzix Big Shot, with the Extended Multipurpose Platform and one cutting pad for the 3-D Texture Fades Embossing Folder

I also tried Distress Oxide, as well as Liquitex Acrylics Basics, to see the difference. I liked both of them!

Peacock Feathers Distress Oxide–This had a soft, chalky look to it. Beautiful! I can see this as an ocean themed card background:

Liquitex Acrylics, Basics, Bright Aqua Green–This had a shiny appearance, with a green tint (the camera didn’t really show the tint). I used a hard rubber brayer to apply the paint and a paintbrush to fill in the crevices. I think this would also look great as an ocean themed card background:

Thanks for stopping by! Have a blessed day!!!

Diane

Celebrate-Alcohol Ink Pearls

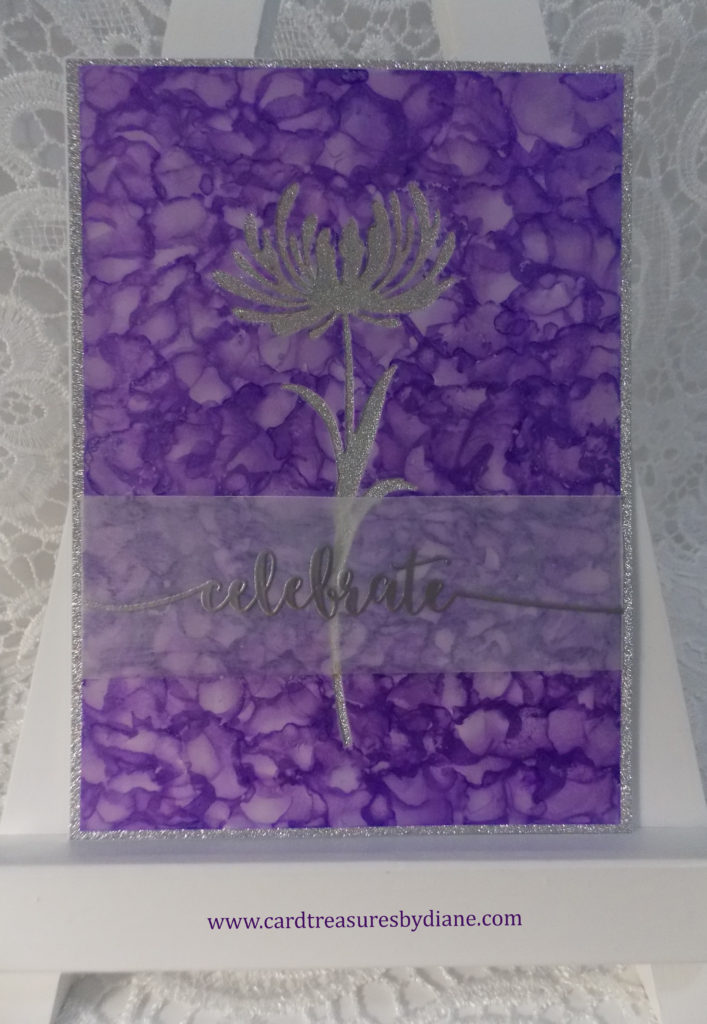
I created this card using Alcohol Ink Pearls, a Sizzix Wildflower Stems die, and an Avery Elle Sentimental stamp.

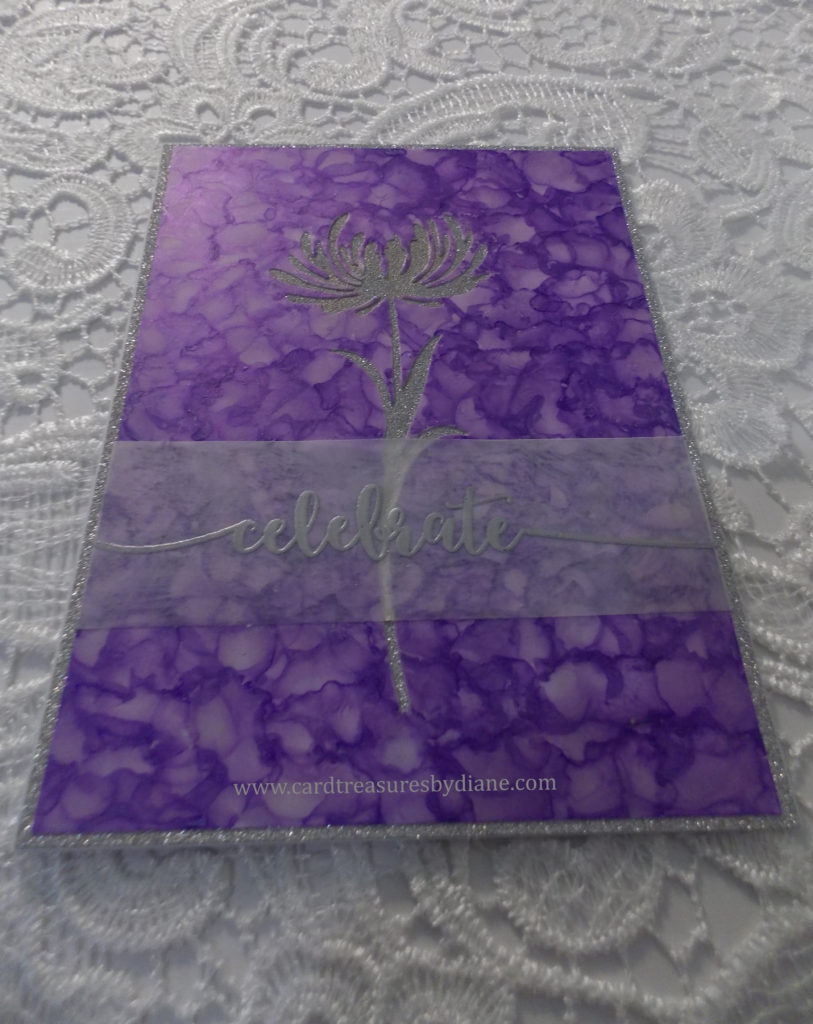
I LOVE the look of the Pearls-so much sparkle and shimmer!!!

To begin the card, I put drops of Villainous Alcohol Pearls onto a piece of Yupo paper and used a Giottos air blaster to control the spread of the ink. After it dried, I sprayed two coats of Krylon Matte Finish to seal the ink, waiting about 20 minutes between each coat.

I die cut the flower, passing the magnetic platform through my Big Shot several times, to make sure it cut completely. I put some Multi Medium Matte around the flower (on the back) and, along with Scor-Tape, adhered the Yupo paper to the glitter cardstock. Then, I secured the glitter cardstock to the white cardstock base with Scor-Tape.

I heat embossed “Celebrate” onto the vellum and cut the vellum to size. Next, I sponged Tombow Multipurpose Liquid Glue on a few spots on the back of the vellum to attach it to the Yupo paper. I had a moment when I thought that was a BIG mistake, because it looked like white splotches all over the vellum. Then I remembered this glue goes from white to clear when it dries.

 To add even more sparkle, I added some Star Dust Stickles to the flower.  

(This pic might show more of the shimmer…)

Materials Used:

  • Tim Holtz Alcohol Ink Yupo Paper, Translucent
  • Silver Glitter Cardstock
  • Park Lane Paperie, White Core, Smooth, 110 lb. Cardstock Base
  • Sizzix Thinlits, Wildflower Stems #1 die, 664163
  • Avery Elle Sentimental Stamp Set, ST-16-01
  • Ranger Alcohol Pearls, Villainous
  • Giottos AA1900 Rocket Air Blaster, LARGE
  • Ranger non-stick Craft Sheet
  • Ranger Embossing Powder, Silver
  • VersaMark Watermark Stamp Pad
  • Vellum (I found mine on sale at Office Max: White Translucent Vellum Letterhead, 950453.)
  • Darice Heat Tool
  • Ranger Stickles, Star Dust
  • Krylon Matte Finish
  • Fiskars Procision Rotary Bypass Trimmer (12”)
  • Martha Stewart Scoring Pad/Fiskars Dual Tip Embossing Stylus
  • Adhesives: Scor-Tape, 3/8”, Ranger Multi Medium Matte, and Tombow Multipurpose Liquid Glue (green and white bottle)
  • Sponge Piece
  • Rubber Gloves, Baby Wipes, and Paper Towels

Machine: Sizzix Big Shot, with two cutting plates, and the magnetic platform.

Thanks for stopping by my website! Have a magical day filled with sparkle!!!

Diane

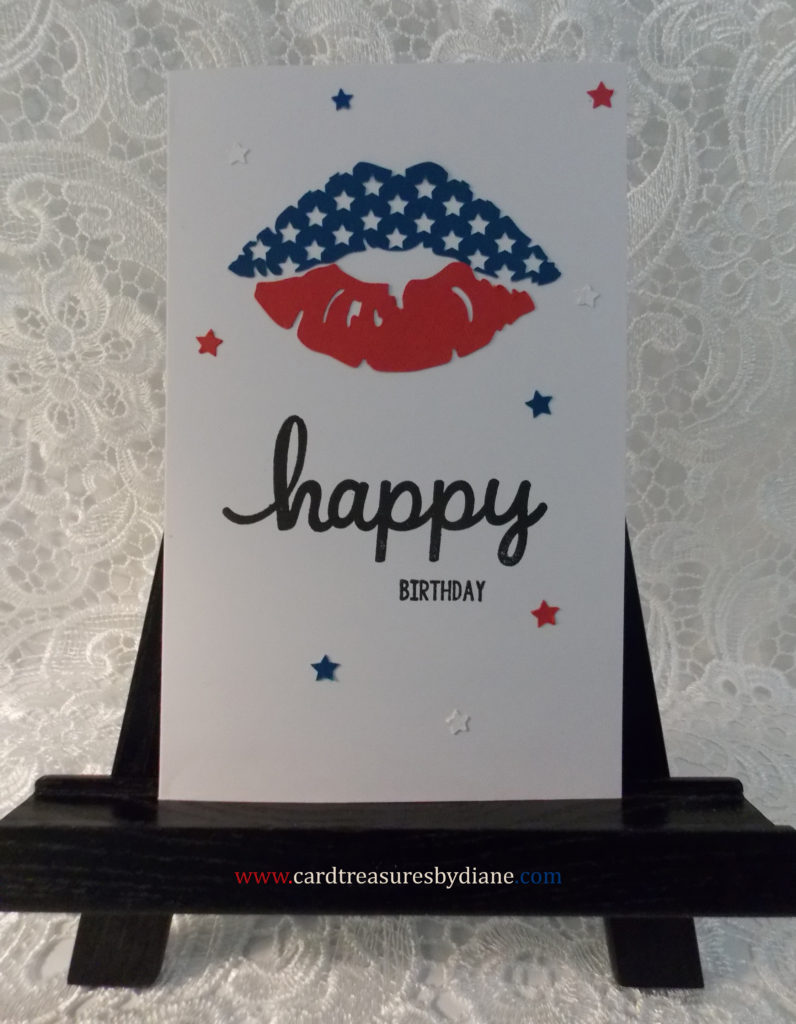
Happy Birthday America!!!

I created this card using a design from the Silhouette Design Store and Pink & Main stamps.

Happy Birthday, America!!!

Materials Used:

  • Red Cardstock
  • Core’dinations Sand it, Tear it, Emboss it, Love it Cardstock, Color: Lake
  • Park Lane Paperie, White Core, Smooth, 110 lb. (Joanne’s) – I’ve been reaching for this more and more to use as a cardstock base. It’s sturdy and has a good weight to it.
  • Patriotic Kiss, Design ID #270646, Artist: Sarah Bailey-Silhouette Design Store
  • Pink & Main Stamp Set, Happy For You, PM0232
  • VersaFine Clair Ink, Nocturne
  • Tim Holtz Tonic Stamp Platform
  • Fiskars Procision Rotary Bypass Trimmer (12”)
  • Martha Stewart Scoring Pad/Fiskars Dual Tip Embossing Stylus
  • Adhesives: Scor-Tape, 1/8” and 1/4, and Ranger Multi Medium Matte

Machine: Silhouette Cameo with a Silhouette 12” cutting mat.

Have an AMAZING Fourth of July!!!

Diane