I’m so proud of myself!

I’m so proud of myself! I figured out an easy, inexpensive way to get the right lighting when I take pictures of the cards I create. I struggled with this until I came up with a solution…a tri-fold corrugated display board, 14 inches x 22 inches. I found one at Walmart-$1.97. It’s small but the perfect size to take pictures of cards. The front is white, which probably is helpful in capturing the light. If more light is needed, I just move the two sides of the display board. I took the above picture, using a standard table light with shade and the tri-fold, around 2:00 a.m. when I couldn’t sleep.

What I like too is its versatility. To change the look of the background, I just use a different piece of material (and it doesn’t take a very big piece to do this).  Plus, the tri-fold is easy to set up, to store, and can be taken with you if needed.

For the ‘With Deepest Sympathy’ card, I used my Sizzix Big Shot and a Cricut embossing folder. That seems like a contradiction.  🙂  I put the distress inks on the raised side of the embossing folder, placed the paper inside, and ran it through the Big Shot.

Materials Used:

  • White Cardstock
  • 98 lb. XL Canson Mix Media Paper (used in the embossing folder)
  • Coredinations Cardstock, Seafoam (Joanne’s)
  • Ranger Distress Inks: Spun Sugar, Squeezed Lemonade, and Tumbled Glass
  • Ranger Archival Ink, Aquamarine
  • Spellbinders Nestabilities Labels Four, S4-190, 2-1/4 x 3-5/8”
  • Cricut Cuttlebug Anna Griffin Embossing Folder, Thistle Bouquet
  • Stampabilities ‘With Deepest Sympathy’ Rubber Stamp, FR1124

Have a blessed day!

Diane

Lovely Lady on the Balcony from The Graphics Fairy

Valentine’s Day

HAPPY VALENTINE’S DAY!

Today, I want to send some love to those of you who have given of yourself and your time to create and post cardmaking videos on your blogs, websites, and YouTube (as well as to those who have shared via text format). All these wonderful sources of information have given me the knowledge, techniques, and instruction that I needed to learn to create cards, which nourishes my soul and has made my creativity blossom.

Thanks to all of you!!!

Have a beautiful day that is filled with LOVE! (not just romantic love, but all kinds of love: self-love, love of your children/grandchildren, sisters and brothers, parents, grandparents, friends, your furry friends, too…anyone you hold dear in your heart that makes you happy.)

Diane

Materials used:

  • White cardstock
  • Red cardstock
  • Spellbinders Die D-Lites ‘Vines of Passion’ Die, S2-022
  • White lace (Hobby Lobby)
  • Red Polka Dot Ribbon, Celebrate It 360 (Michael’s)
  • Ranger Archival Ink, Vermillion
  • Stampabilities ‘Cursive Thinking of You’ Stamp, ER1143
  • Scor-Tape: 1/8”, 1/4”, and 1/2” wide
  • Aidox-Corner Cutter (Photo Max), Large

Photo of Angels is from The Graphics Fairy:  http://thegraphicsfairy.com.


Princess Adalina and her Unicorn


Princess Adalina riding her unicorn, Primara, in the Enchanted Fae Forest.

This card was so much fun to make! I began by cutting the fairy and unicorn image with my Silhouette Cameo. After I removed the extra pieces from the fairy wings, I put the wings on a 2.5″ wide piece of Scor-Tape, adhesive side facing up. I sprinkled some Cosmic Gilding flakes on top of that and rubbed lightly with a piece of Ranger Rub It-Scrub It Stamp Cleaning Pad until it blended. Scor-Tape and gilding flakes were also used to make the unicorn’s eye sparkle. Monica, from scrappin4myboys, has a wonderful YouTube video, which inspired me and gave me the idea to use Scor-Tape as an adhesive instead of glue: https://youtu.be/L_EXeeR4oxE

I blended five colors of distress ink to create the background of the card. When I first tried to use distress inks, the ink blending tool left circles all over the paper. The secret, I learned, is to start your blending tool off the paper on the craft mat. Tammy Tutterow has an excellent YouTube video on How to Blend and Apply Tim Holtz Distress Inks: https://www.youtube.com/watch?v=gc9YOth8tsI

I held my breath while removing the Scor-Tape backing behind the fairy wings because I wasn’t sure if the gilding would come off, too. But the result was a really thin and fragile-like ‘paper,’ and the wings and gilding stayed in one piece. Some Scor-Tape pieces on the back of the fairy and unicorn were added, and I  c a r e f u l l y  placed the fairy and unicorn on the cardstock. (I say ‘carefully’ because the fantastic thing about Scor-Tape is it’s adhesion-things stay put. But the bad thing about it is once it makes contact with cardstock, it can’t be repositioned.)

Ranger Archival Ink was used for the flowers and the snail on the card, as well as the ‘Believe’ sentiment. A piece of black paper behind the ‘Believe’ sentiment finished the card.

Materials Used:

  • Strathmore Watercolor Paper, 140 lb., 400 Series, White (140 lb. cardstock was maybe overkill-I think a lighter weight would have worked, too.)
  • Black paper
  • ‘Fairy riding unicorn’ die cut, Design ID #148952, from the Silhouette Design Store
  • Ranger Distress Inks: Lucky Clover, Cracked Pistachio, Wild Honey, Mustard Seed, and Spiced Marmalade.
  • Ranger Mini Ink Blending Tool and Foam
  • Cosmic Shimmer Gilding Flakes, Autumn Leaves
  • Ranger Rub It-Scrub It Cleaning Pad (a small piece)
  • Scor-Tape: 1/8″, 1/4″, and 2.5″ wide
  • Ranger Archival Ink, Jet Black
  • Stampabilities ‘Believe’ Rubber Stamp, ER1136
  • Barrel of Stamps, #133678, Snail Stamp
  • Studiog-two flower stamps

Have a blessed and wonderful day!

Diane


~Celebrate You~ Dress Card

Today was a COLD day in Minnesota! It was a good day to stay inside and work on a dress card.

A while ago, I saw some beautiful lace and instantly thought ‘dress card.’ I cut some of the lace into a mini-dress size and anchored it on both sides with 1/8″ Scor-Tape. To give the dress an empire waist, I used black velvet ribbon and sewed on some faux-pearls. I wasn’t sure if the strip of pearls would start coming apart when I cut one pearl off, but the rest of them stayed on the string. This trim was so easy to use-I think I’ll be using it a lot. The velvet ribbon was anchored to the dress with 1/4″ Scor-Tape.

I used a different kind of faux-pearls for the straps of the dress and anchored those with a couple strips of 1/8″ Score-Tape. I cut out the label using my Sizzix machine and stamped the sentiment with Ranger Archival Ink.

Materials used:

  • Core’dinations Gemstones Cardstock, Tanzanite (JoAnn)
  • White Pleated Lace (Hobby Lobby)
  • Decorative Trim, Black Velvet, 3/8″ (Hobby Lobby)
  • Decorative Trim, White (faux-pearls on the empire waist), #416461, 8 yards for $1.99 at Hobby Lobby.
  • The Paper Studio Pearl Gemstones (the dress straps) at Hobby Lobby
  • Spellbinders Die-D-Lites Petite Labels One, Bracket 3: 2-7/8 x 1-5/8″
  • Core’dinations Gemstones Cardstock, Pearl (the label)
  • Stampabilities ‘Celebrate You’ Rubber Stamp, CR1131
  • Ranger Archival Ink, Color: Watering Can

Thanks for stopping by!!!

Diane


Castle of the Amethyst Jewels

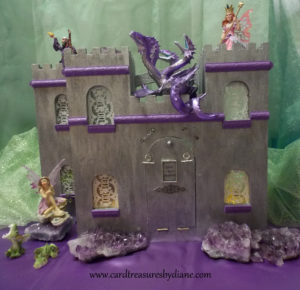
My best friend and I found plain wooden castles at Michael’s and decided to make fairy castles. I didn’t realize how many bottles of the 2 oz. glitter paint I would go through when painting the castle-I stopped counting when I used my 11th bottle. It took three coats of paint until I was satisfied with the coverage. I found some decorative wood strips, painted them Princess Purple, cut them to size, and put them around the castle. There are 12 windows so I decided to forgo putting in the velvet curtains that I had originally thought about making.

~Back view of the Castle of the Amethyst Jewels~

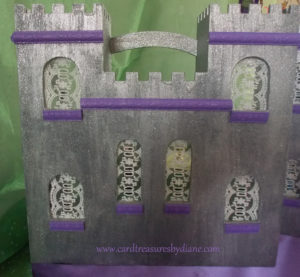
I added a drawbridge using an inexpensive necklace chain. It was my first drawbridge so it took a while to figure out how to get it to work. It raises and lowers by pulling the chain.

I wanted the inside of the castle to have an outdoor feel so I put patio carpeting to give the illusion of an atrium. Hmmm…I just realized there are no dishes on the table for the Royal family in the below picture. Good thing the castle’s kitchen staff will take care of that!

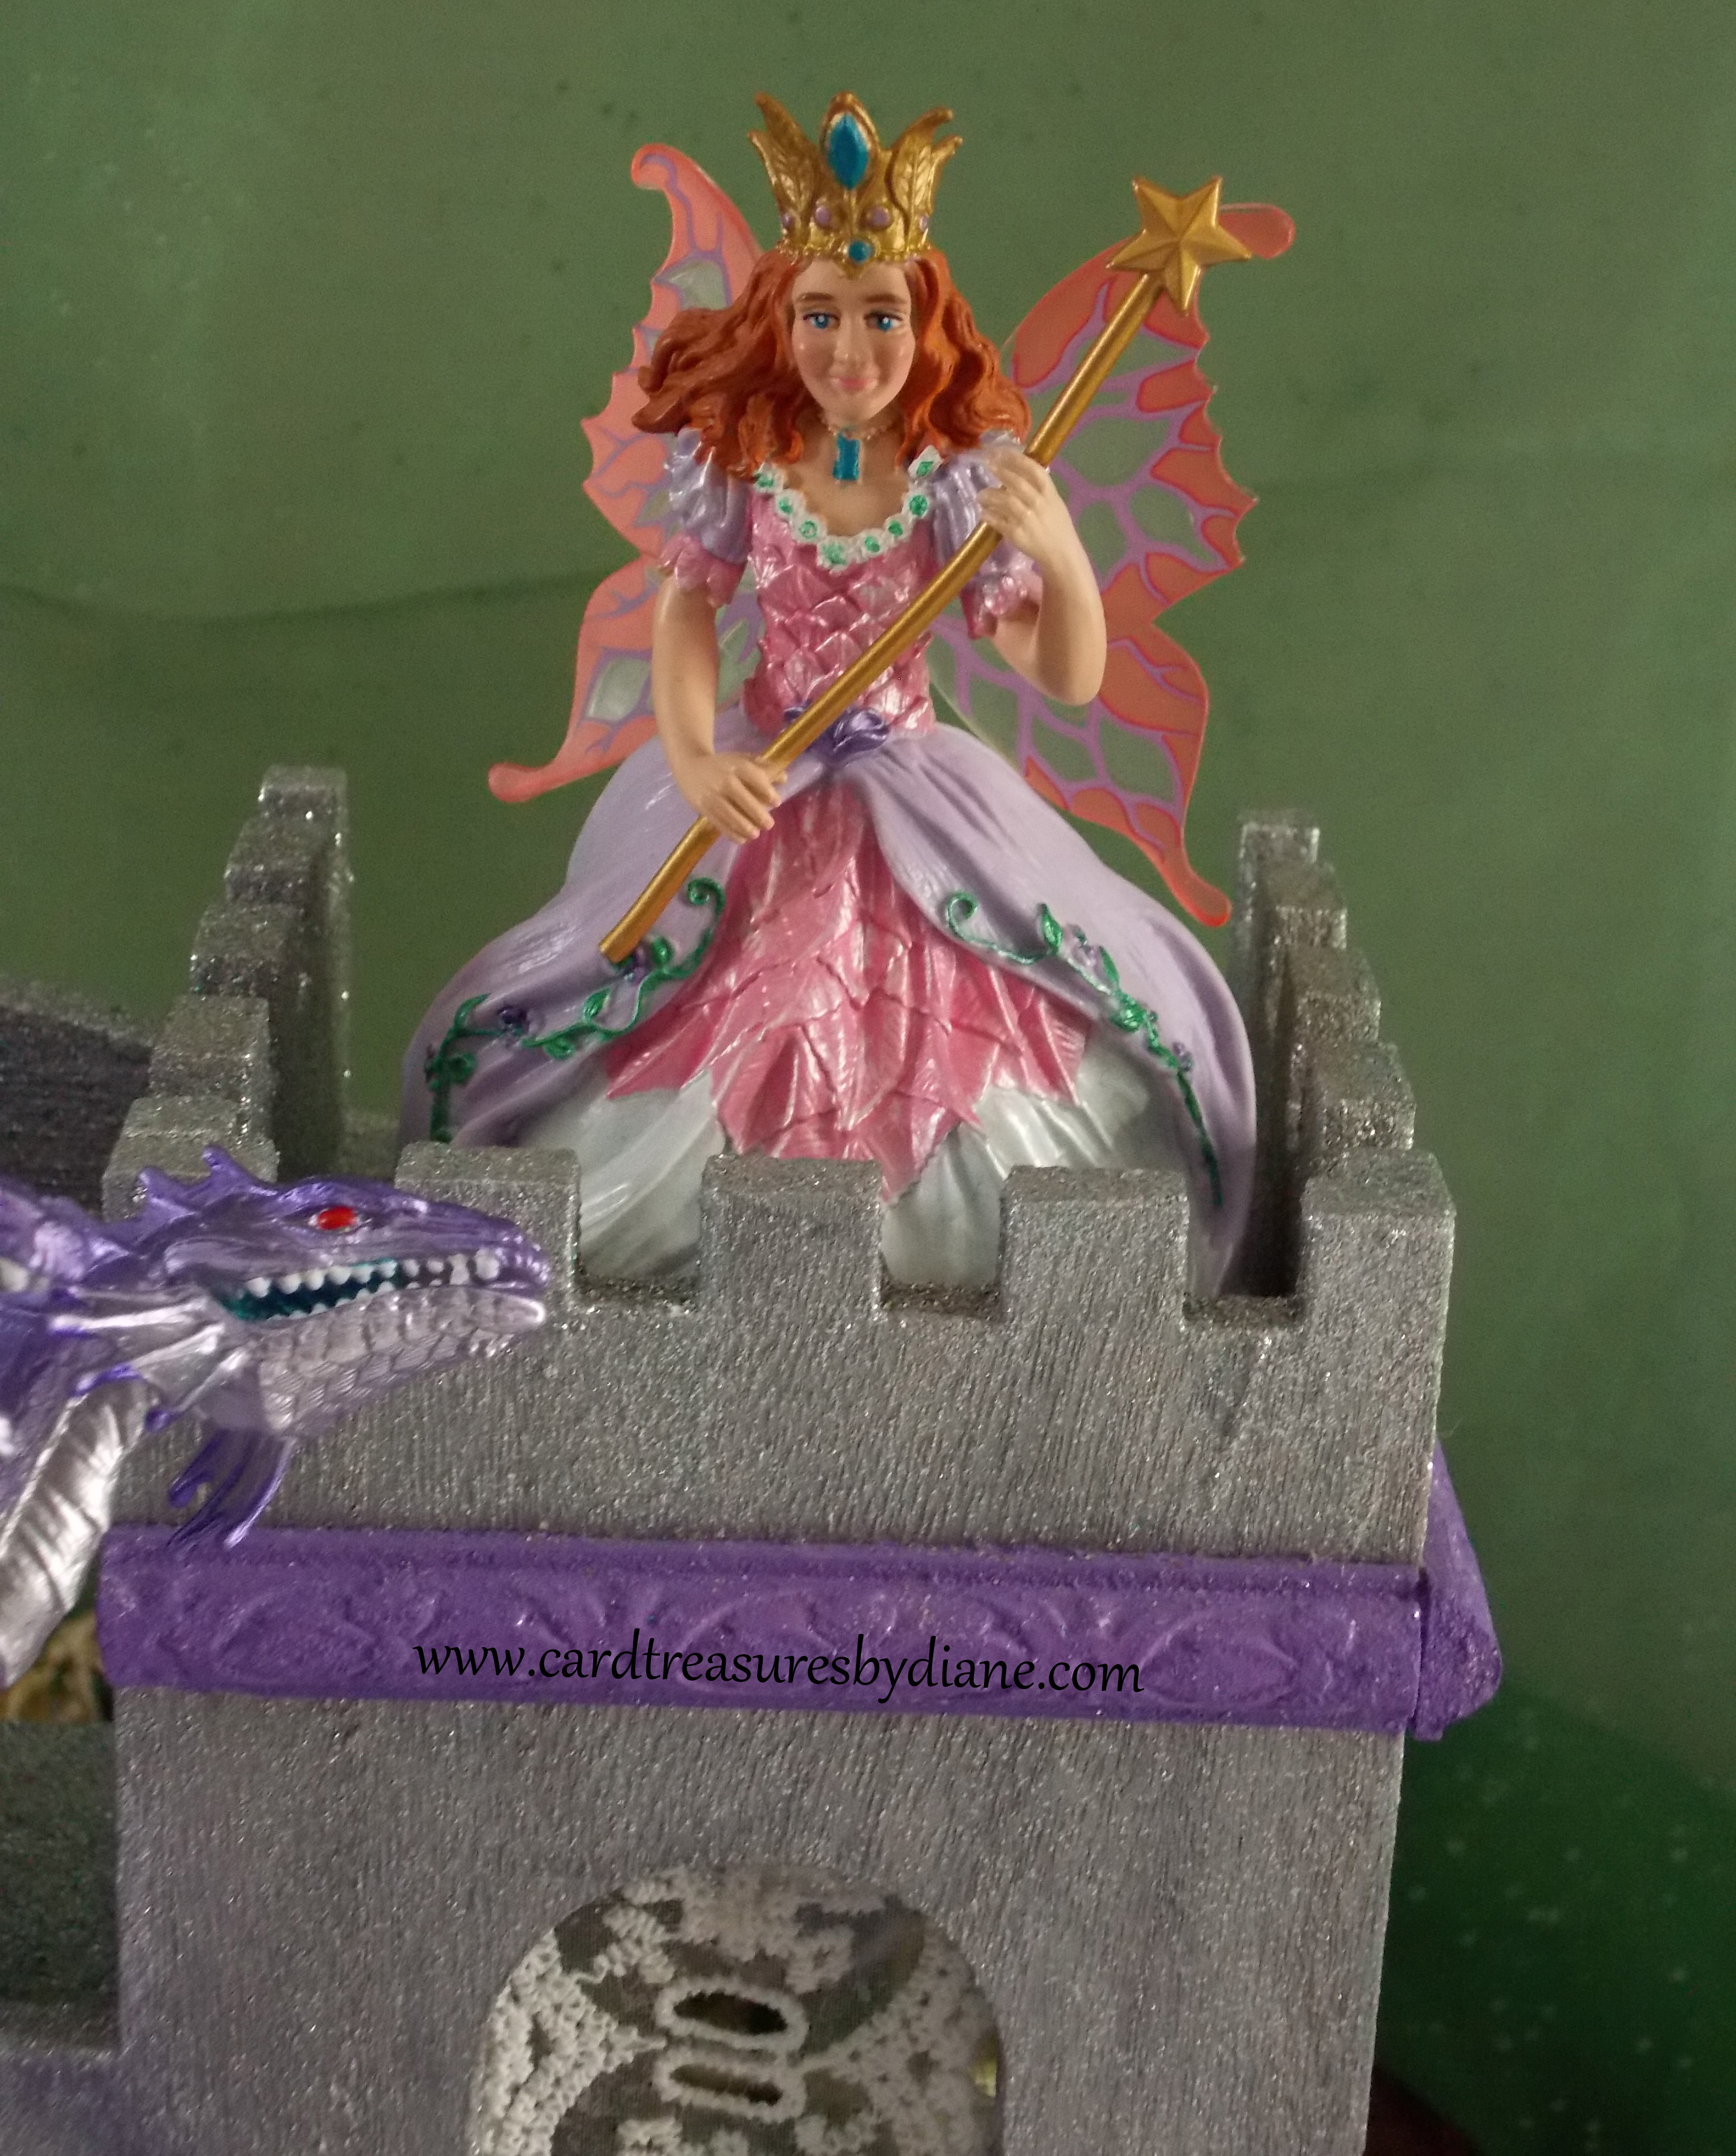
Hydra is guarding the castle, and she is a protective dragon as she watches over the Royal family. Her colors are so beautiful-purple and silver! Her two babies are being cared for by Livia, an amethyst fairy. Their green color will turn to purple as they get older.

Magnus the wizard is nearby and legends say that he can talk to dragons. Prince Patrick swears that he’s heard Hydra and Magnus ‘talking’ but he can’t understand what they’re saying because it’s a language from eons past.

Fairy Queen Rose has stopped by on this beautiful summer day. Hydra decided to photobomb the picture as I was taking it.

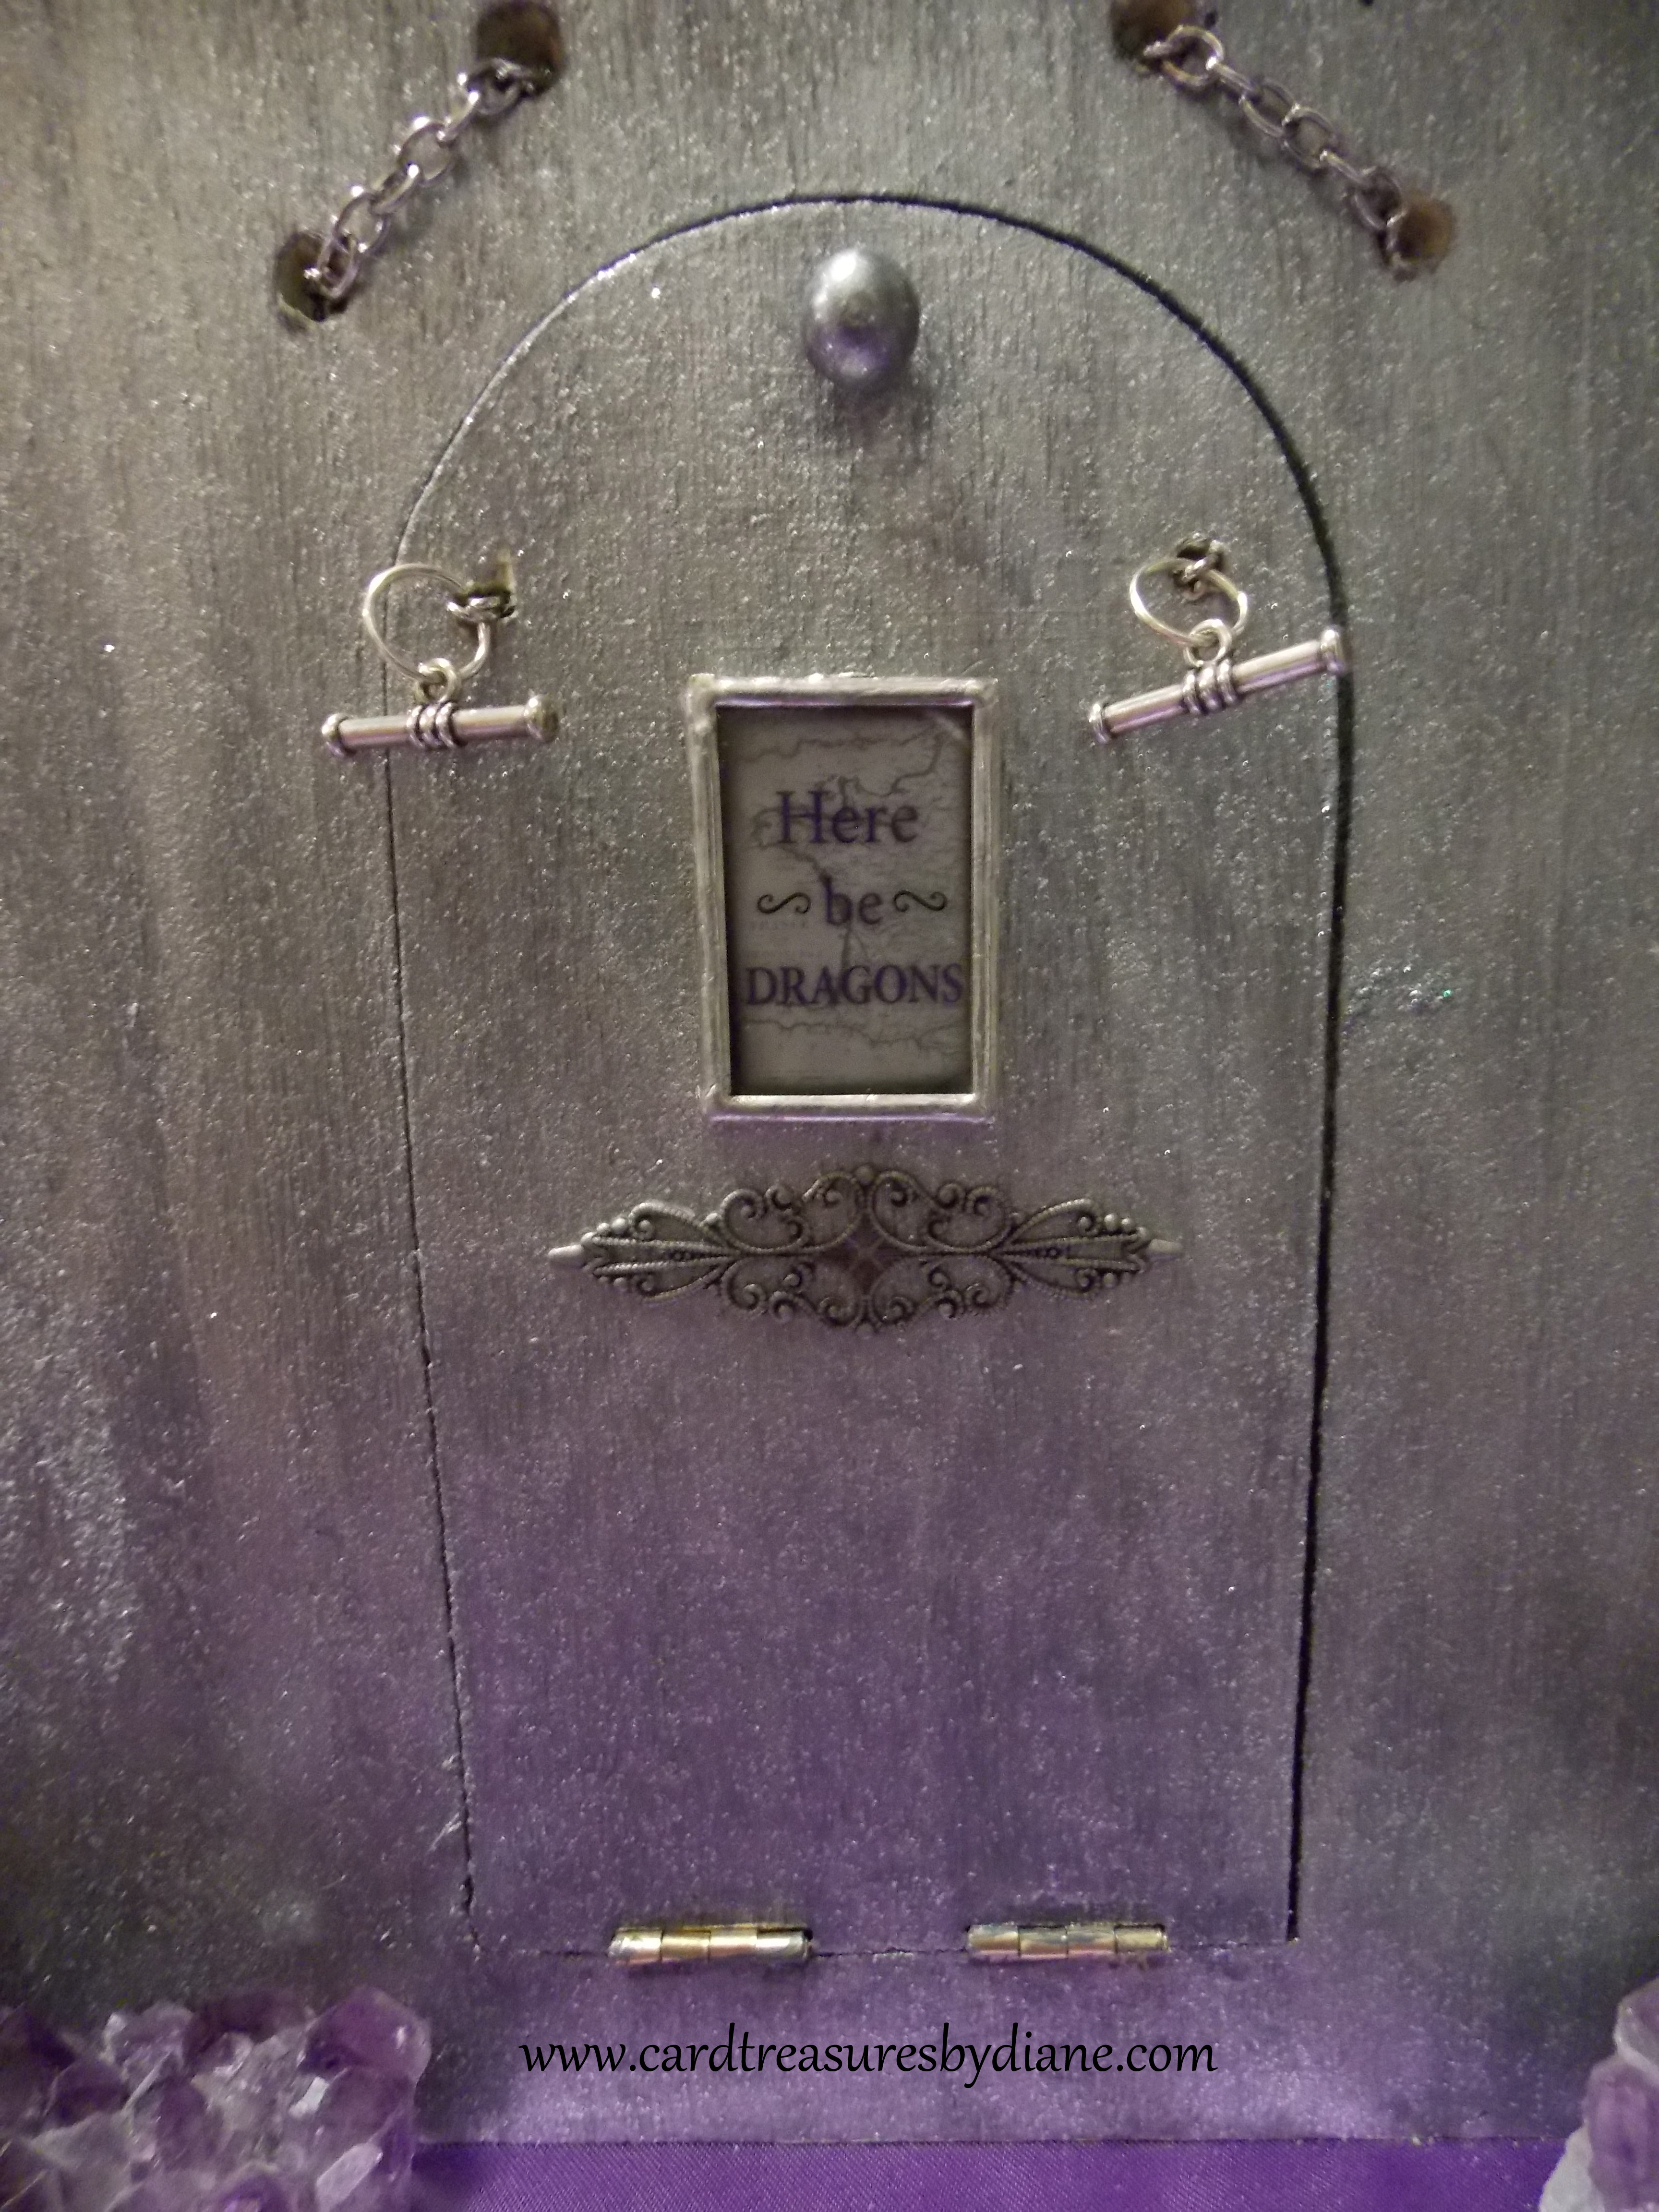
The sign on the door has discouraged many a peddler as they pass by the castle (if they haven’t looked up and seen Hydra staring at them).

I found the Royal family, wizard, fairy queen, fairy pony, and hydra at Micheal’s. They also can be found at safariltd.com:

  • King Alfred
  • Queen Sophia
  • Princess Emily
  • Prince Patrick
  • Princess Juliet
  • Rose the Fairy Queen
  • Magnus theWizard
  • Hydra
  • Fairy Pony

Royal Pony (the name escapes me) on sale at Hobby Lobby, as well as the Jack Russel Terrier figurine.

The two baby dragons were a gift from my daughter. I think they’re so adorable!

The Amethyst Fairy-Gordman’s

Materials used:

  • LOTS of Craftsmart Multi Surface Premium Glitter Acrylic Paint, Smashing Silver
  • Craftsmart Multi Surface Premium Satin Acrylic Paint, Princess Purple
  • A roll of lace for the windows. It was hard to find lace that fit the windows, but I did it!
  • 8 Chairs with moss-like material. They were technically Christmas ornaments at a local K-Mart.
  • The Royal family table was found at a thrift store.
  • Golden Candelabra-Michael’s in the Miniature section
  • I found some miniature frames at Michael’s and painted them teal and grey. I glued some decorative paper to the back of them.
  • 1 – 12″x12″ board-Menard’s
  •  Outdoor patio carpeting-Costco-that I cut to size to fit the board.
  • ‘Here be DRAGONS’- Hobby Lobby
  • 2 decorative wood strips-Michael’s
  • Necklace chain-Michael’s
  • Jewelry Findings (castle door)-Hobby Lobby

My best friend and I both said ‘never again’ when we finished our fairy castles, but we had fun making them! And who knows …

Thanks for stopping by and checking out my Castle of the Amethyst Jewels!

Diane