Doily Dress Card (Live Your Dreams)


Today, the sun is shining, and it’s gorgeous outside. I don’t want to jinx it, but I think spring has come to Minnesota.

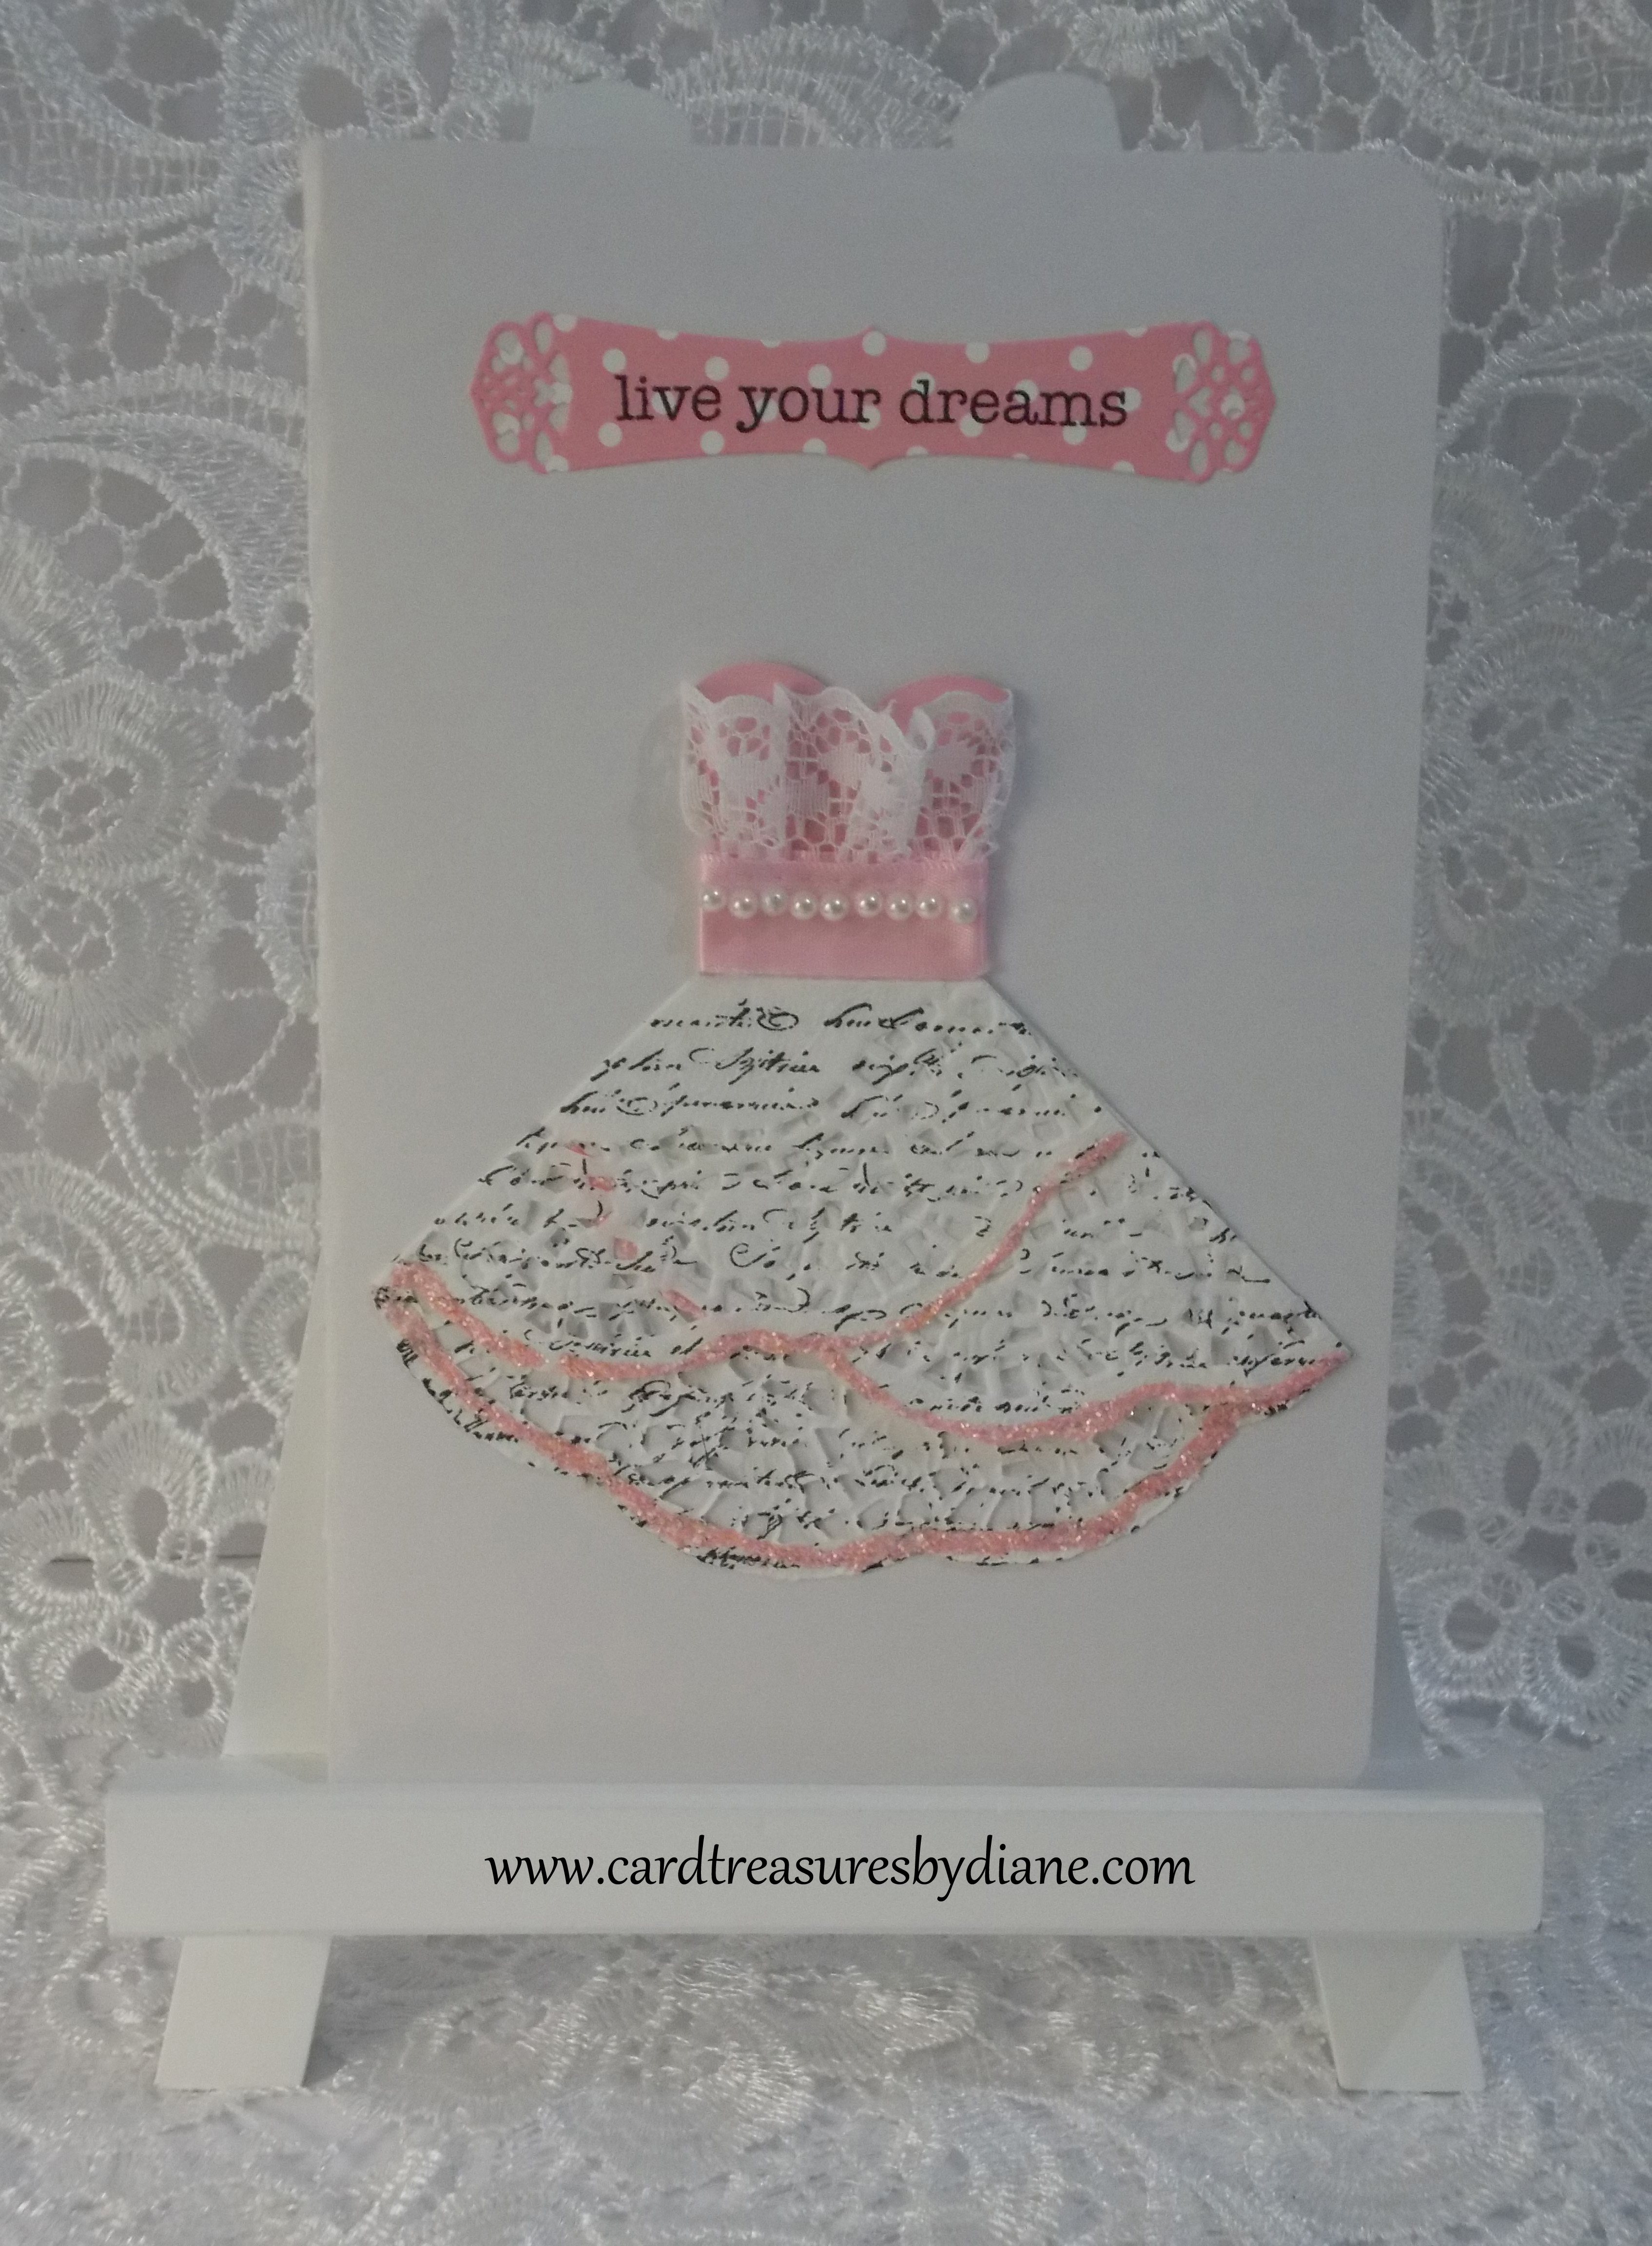
I’ve seen doily dress cards on Pinterest, that I think are really beautiful, so I decided to make my version of it. I was going to make a white doily dress, with a ribbon around the ‘waist,’ but I wandered off from that theme. I always get a kick out of how my cards don’t turn out like I first envisioned them. They just kind of evolve.

I used the tutorial (below) by LeeAnn Greff, from Flowerbug’s Inkspot, as a guide when I made the dress. (Random thought: I just realized that she’s from around my neck in the woods-Minot, ND.)

http://flowerbug.typepad.com/my_weblog/2013/04/doily-wedding-dress.html

Materials Used:

  • Coredinations Opal Pearl Cardstock (Michael’s)
  • Paper doily from the Dollar Store
  • Tim Holtz Distress Glitter, Spun Sugar
  • Pink and White Lace
  • Faux Gemstones
  • Pink Paper for the bodice
  • Fiskar’s Heart Punch
  • Stampabilities Faded Text Background, TR1011
  • Hampton Art ‘live your dreams’ sentiment, SC0790
  • Spellbinders Card Creator, A2 Tranquil Moments Die, 3-7/8 x 3/4″ (for the sentiment background)
  • Darice Premium Cardstock, Pink Prints
  • Scor-Tape, 1/2″
  • Tombow Aqua Mono Liquid Glue

Thanks for stopping by my website! Have a fantastic day!

Diane

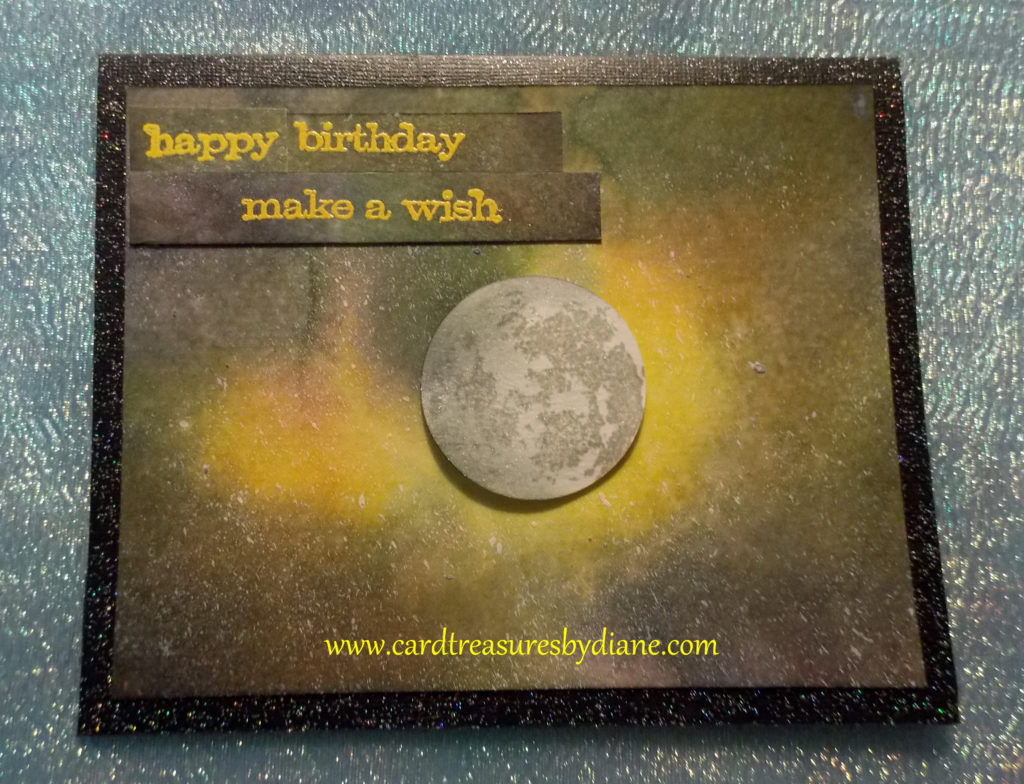
P.S. Tonight I bought the complete set of Distress Oxide inks-I can’t wait to start ‘playing’ with them!

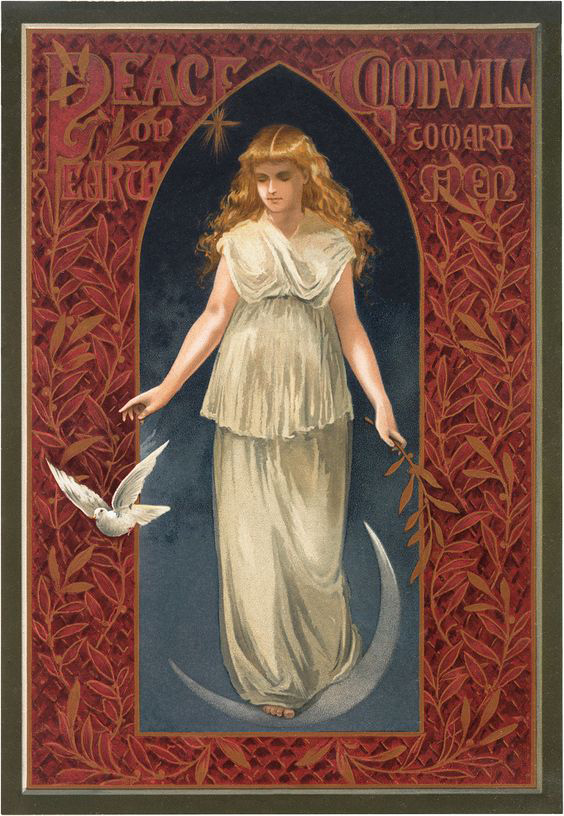
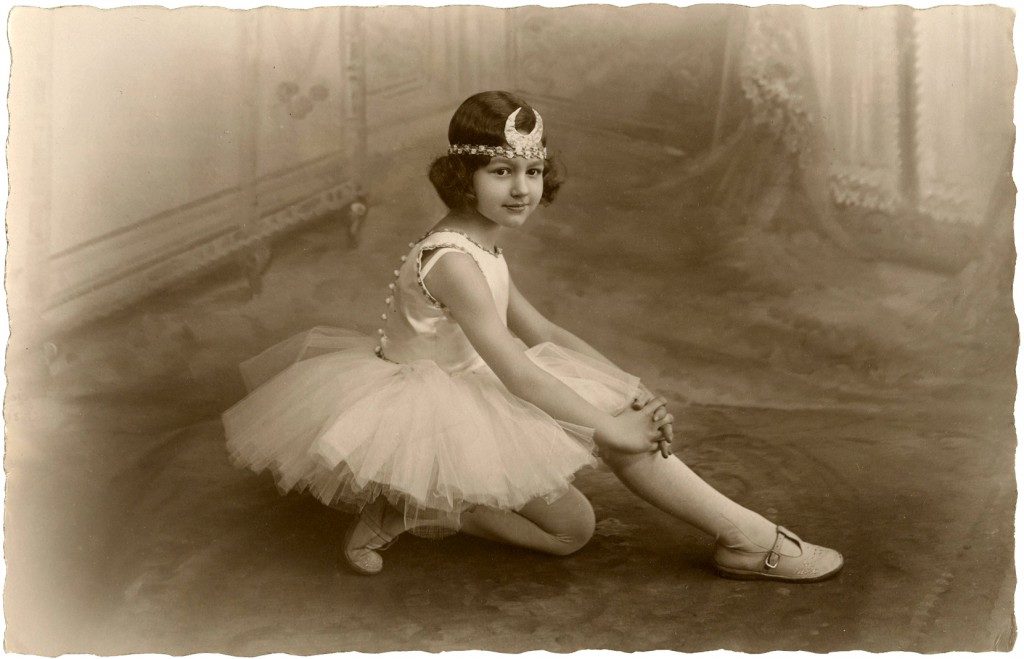
The photo is from The Graphics Fairy. 


Galaxy Card


This card was a challenge, but I did it! I watched a YouTube video on how to create a galaxy background using distress ink blending by Amy, TheCraftBunny:

https://www.youtube.com/watch?v=Q8r_d_IB4mA

I followed her video pretty closely, but I made a couple of changes. On my first (unsuccessful) attempt to make this galaxy card, I flicked water off my fingers, like she did, to give a bleaching effect. It didn’t turn out. Amy’s either more experienced, or more coordinated than me (maybe both). 🙂 On my second attempt, I used a Ranger Mini-Mister and achieved a better result. Another change I made was to spray some Tattered Angels Glimmer Mist on the moon. You can’t really see from this picture, but it sparkles.

After I created the stars using a toothbrush with acrylic paint on it (like Amy did in the video), I glanced at my computer keyboard and my clothes and went “oh oh.” There were white specks of acrylic paint all over. When I do something like this in the future, I will put the project in a cardboard box to catch anything that splatters. Some lessons are more painful than others. 🙂

Materials I Used:

  • Strathmore Watercolor Paper, Cold Press, 140 lb and 90 lb
  • Coredinations Cardstock, Black Tie
  • Ranger Tim Holtz Distress Inks: Mustard Seed, Picked Raspberry, Seedless Preserves, Faded Jeans, and Black Soot
  • Altenew ‘To the Moon’ Stamp Set
  • ‘Happy Birthday’ and ‘Make a Wish’ Jim Holtz Cling Stamps, Saying Stuff, THJ009
  • Spellbinders Nestabilities Standard Circle, LG – 1-3/8″ and 1-7/8″ Dies
  • Ranger Distress Embossing Ink, Clear
  • Ranger Wendy Vecchi Embossing Powder, Buttercup
  • Embossing Buddy
  • StazOn, Dove Grey (on the moon)
  • Tattered Angels Glimmer Mist
  • Ranger Mini-Mister
  • Adhesive Foam Sheet
  • Scor-Tape: 3/8″, 1/4″, and 1/2″

Thanks for stopping by! Have a beautiful day!!!

Diane

Photo from The Graphics Fairy