Distress Inks & Oxide~Wildflowers

To create this card, I used Spiced Marmalade distress oxide and ‘painted’ distress inks onto the wildflowers with a waterbrush. This was the first time I used a waterbrush to do this…I like how it gives a watercolor effect (although the camera didn’t completely capture the watercolor look).

I put strips of the Spiced Marmalade distress oxide onto a non-stick craft sheet, spritzed them with water, and smooshed the watercolor paper into the strips. I did this a couple of times, drying the ink in between each time with a heat tool. I die cut the wildflowers, ‘painted’ them with distress inks, and glued them onto the watercolor paper. I added a black label and embossed ‘happy birthday’ onto it. The watercolor paper was anchored onto the black cardstock base using Scor-Tape…and my card was finished!

I tried the Tim Holtz Distress Micro Glaze for the first time. What’s great about it is that it can be used over both distress inks and distress oxide inks to give a protective finish. It did a good job of doing this, but I have mixed feelings in regard to the distress oxide. The pro: it seems that it does give a good protective end result; the con: I think it takes away the chalk-like look of the oxide, which is one of its distinctive qualities. I guess it’s kind of a trade-off for me, since the distress oxide was rubbing off on my fingers last time after I created a card with it.

Materials Used:

  • Strathmore Watercolor Paper, Cold Press, 90 lb.
  • Core’dinations Tim Holtz Black Cardstock (label)
  • Black Cardstock
  • Ranger Tim Holtz Distress Inks: Spiced Marmalade, Fossilized Amber, and Mowed Lawn
  • Distress Oxide: Spiced Marmalade
  • Ranger non-stick Craft Sheet
  • Ranger Mister
  • Sizzix Tim Holtz Thinlits, Wildflowers, 661190
  • Spellbinders Nestabilities, Labels Four, 1-3/4”x 3-1/8”, S4-190
  • Stampabilities ‘Fancy Happy Birthday’ Stamp, 760116-ER
  • Wendy Vecchi Ranger Embossing Powder, Buttercup
  • Versa Mark Watermark Stamp Pad
  • Embossing Buddy
  • Tim Holtz Tonic Stamp Platform
  • Tim Holtz Waterbrush-Detailer Tip
  • Darice Heat Tool
  • SILICON HEAVYWEIGHT Potholder (I found this at my local Wal-Mart in the clearance aisle. I guess this shows that I’m missing the love of cooking gene-my first thought, when I saw it, was to use it for crafts instead.) It’s been working out really well-I don’t need to be hyper vigilant now when I lay my heat tool down.
  • Ranger Multi Medium Matte (I used this as a glue to anchor the label and the wildflowers.)
  • Imagine Crafts Craft Mat (works great when using glue)
  • Tim Holtz Distress Micro Glaze
  • Scor-Tape: 1/4” and 3/8”

Machine: Sizzix Big Shot, with two cutting pads, and the magnetic platform.

Thanks for stopping by my website. Have a totally wonderful day!!!

Diane
Pink House~Lace

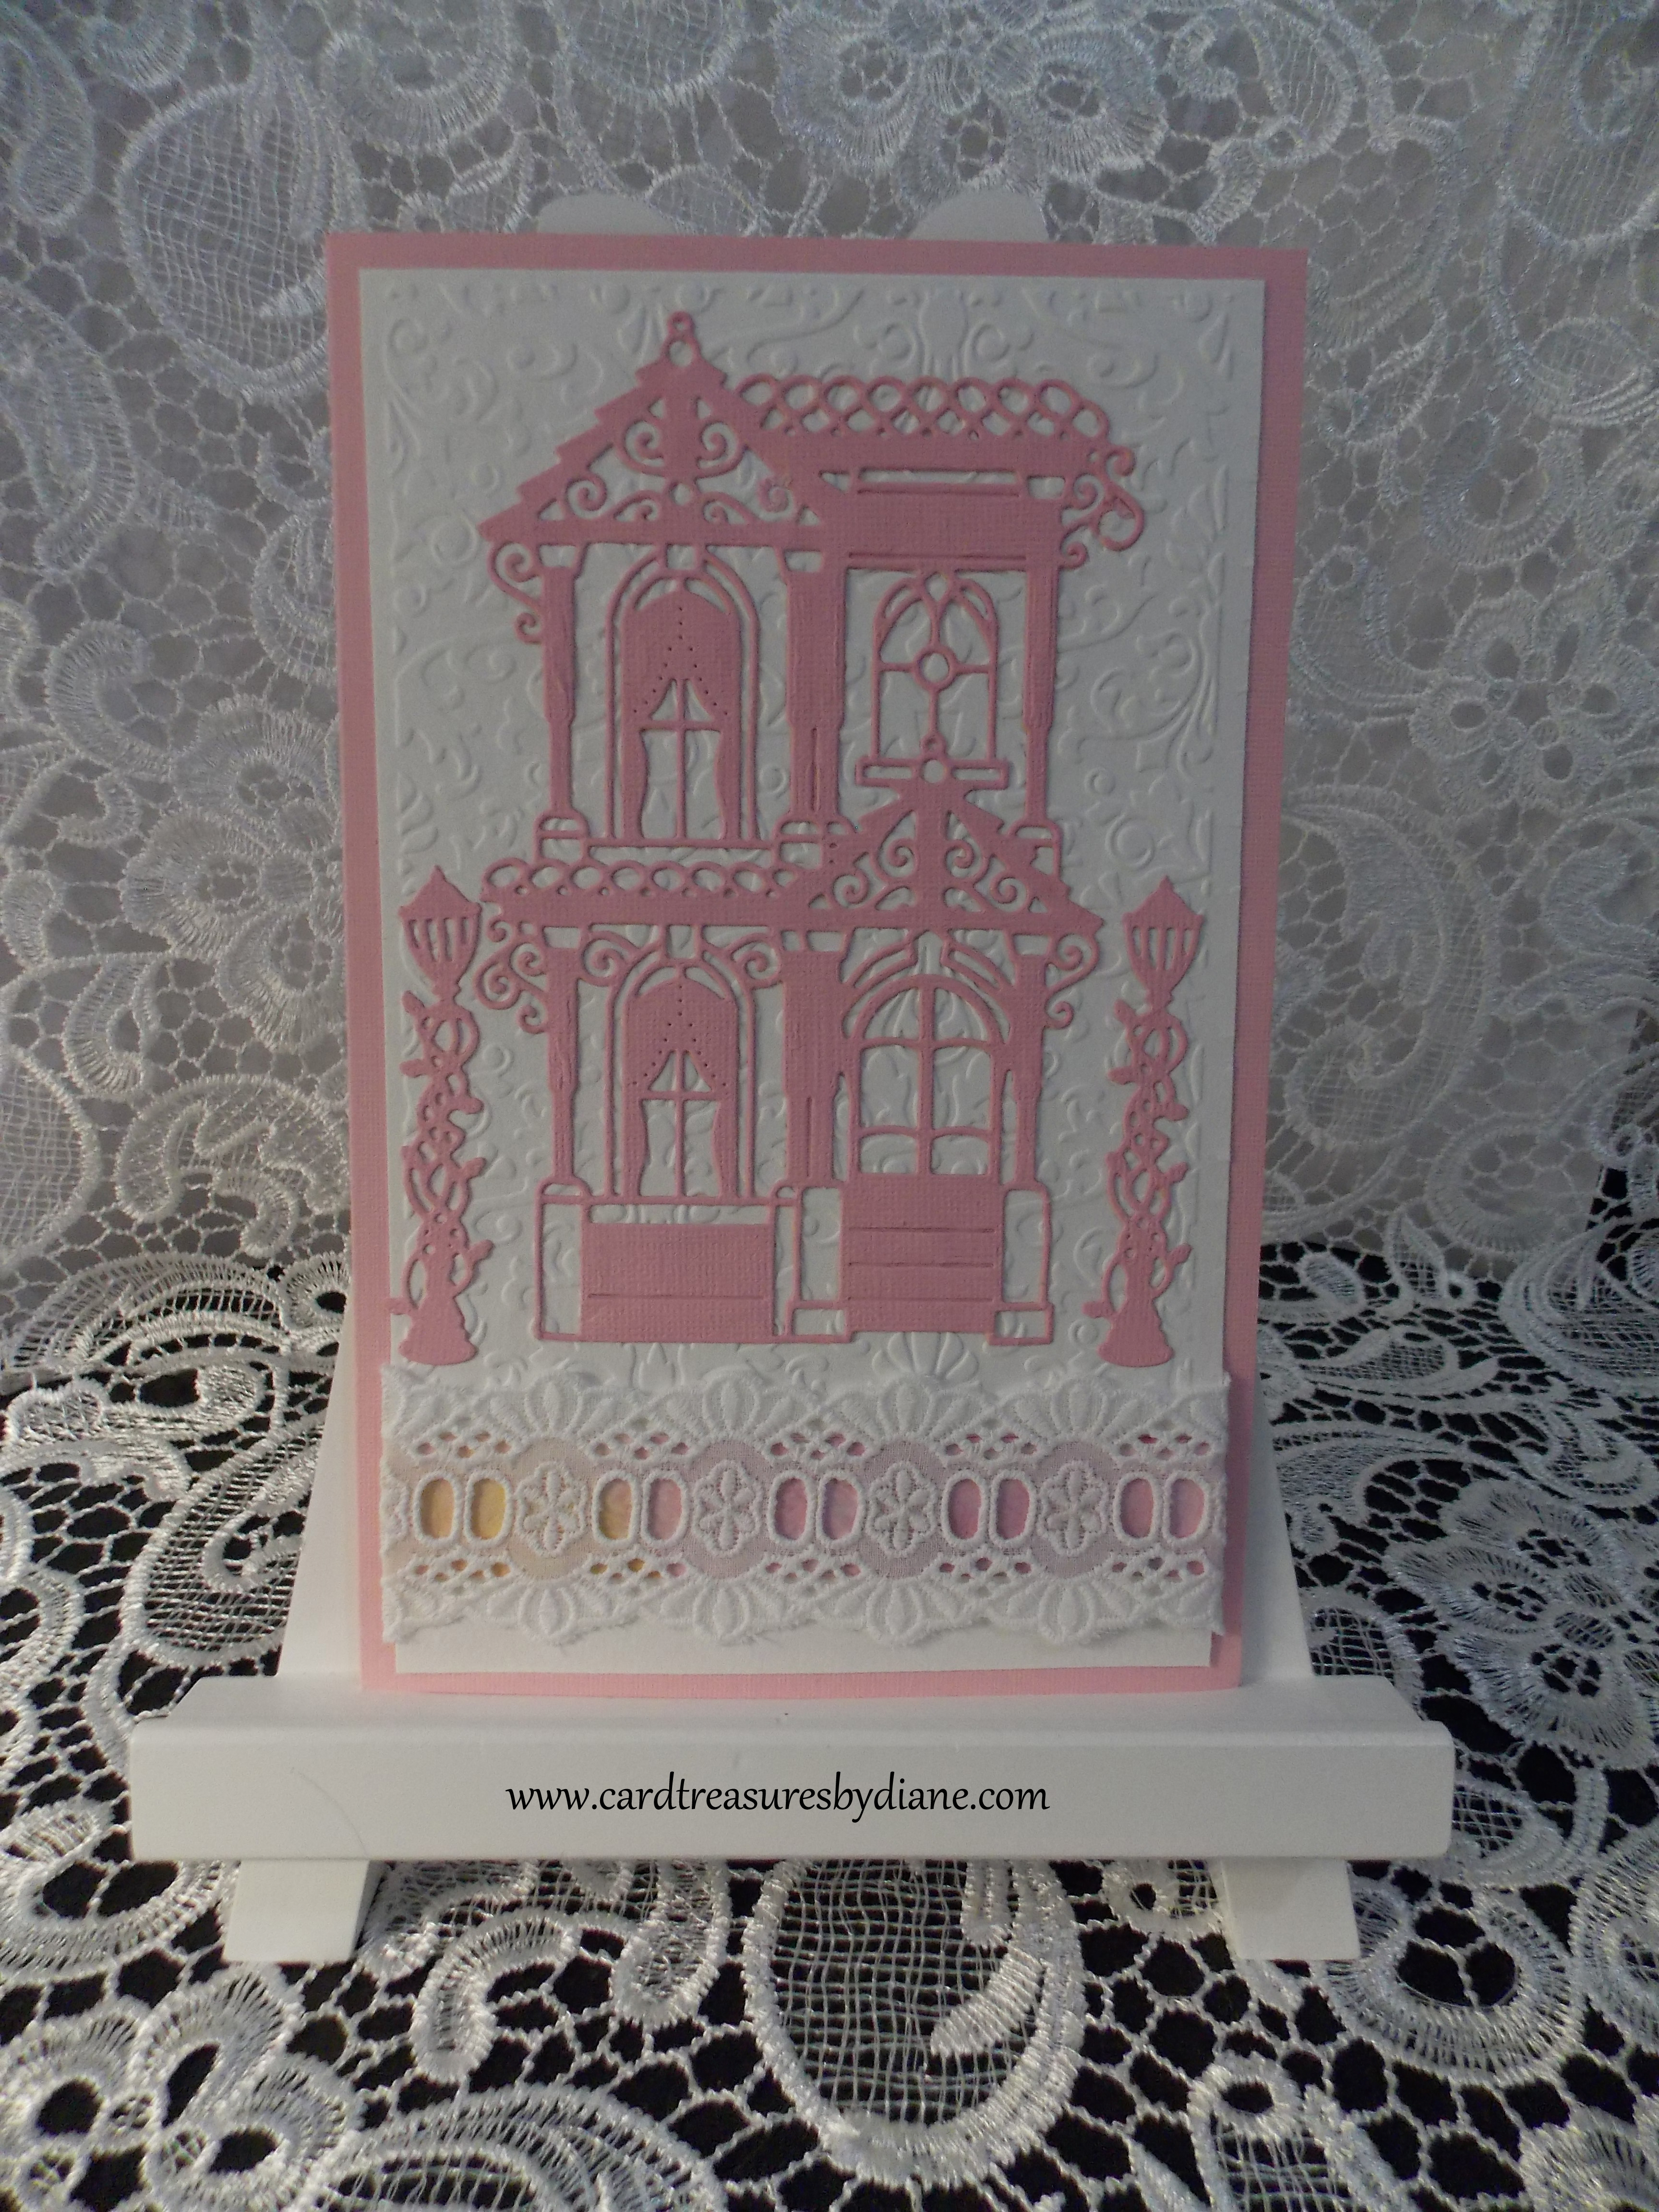
I used the Spellbinders Painted Lady dies, an embossing folder, and lace to create this card. I put a sheet of 90 lb. Strathmore Watercolor Paper inside an embossing folder, and ran it through my Big Shot, to get the Damask pattern. Distress inks were sponged onto a strip of watercolor paper, which I anchored under the lace; the distressed strip was attached to the embossed cardstock with 1/2″ Scor-Tape. The house and the lamppost die cut pieces were glued to the embossed paper, and Core’dinations Sugar N Spice was used as the cardstock base. (I’m currently checking out more ways to anchor lace and intricate die cuts.)

I hadn’t used this Spellbinders house die before because it made me really nervous when I tried to run it through my Big Shot. It seemed like it was too thick to make it through. Recently, I ran across a possible way to solve this problem. I can’t remember where I saw (or read) it to give the author credit, but the suggestion was to use water on the cardstock to weaken the fibers and then run it through the Big Shot. I decided to try out some Core’dinations paper that I had purchased from Joann’s. ‘Sand it, Tear it, Emboss it, Love it’ is printed on the paper. I sprayed some water on this cardstock with my Ranger Mister, wiped off the excess water with a paper towel, and ran the die and cardstock through my Big Shot without any problem. I’m not sure yet how well this technique will work on other types of cardstock-when I try out a different cardstock, I’m going to spray water on just a small piece of it first to test it out.

Materials Used:

  • Core’dinations Cardstock, Sugar N Spice (It says ‘Sand it, Tear it, Emboss it, Love it’ on the cardstock. I purchased mine at Joann’s.)
  • Strathmore Watercolor Paper, Cold Press, 90 lb.
  • Spellbinders Shapeabilities, Painted Lady, S6-018 (house and lampposts)
  • Darice Embossing Folder, Damask
  • Ranger Tim Holtz Distress Inks: Spun Sugar, Squeezed Lemonade, and Seedless Preserves-Second or Third Generation (I put distress inks on a piece of watercolor paper; spray some water on it with a Ranger Mister; and lay another sheet of watercolor paper on top of that to get a second, and sometimes third generation.)
  • Ranger Tim Holtz Mini Ink Blending Tool
  • Ranger Mini-Ink Blending Foam
  • Ranger non-stick Craft Sheet
  • Ranger Mister
  • Silhouette Hook (for getting little pieces of paper out of the Dies)
  • Piece of White Lace
  • Zig Memory Systems 2 Way Glue
  • Scor-Tape: 1/8”, 1/4”, and 3/8”

Machine: Sizzix Big Shot, with two cutting pads, the magnetic platform, and the Extended Multipurpose platform.

Have a day filled with happy moments!!!

Diane

Distress Oxides~Butterflies

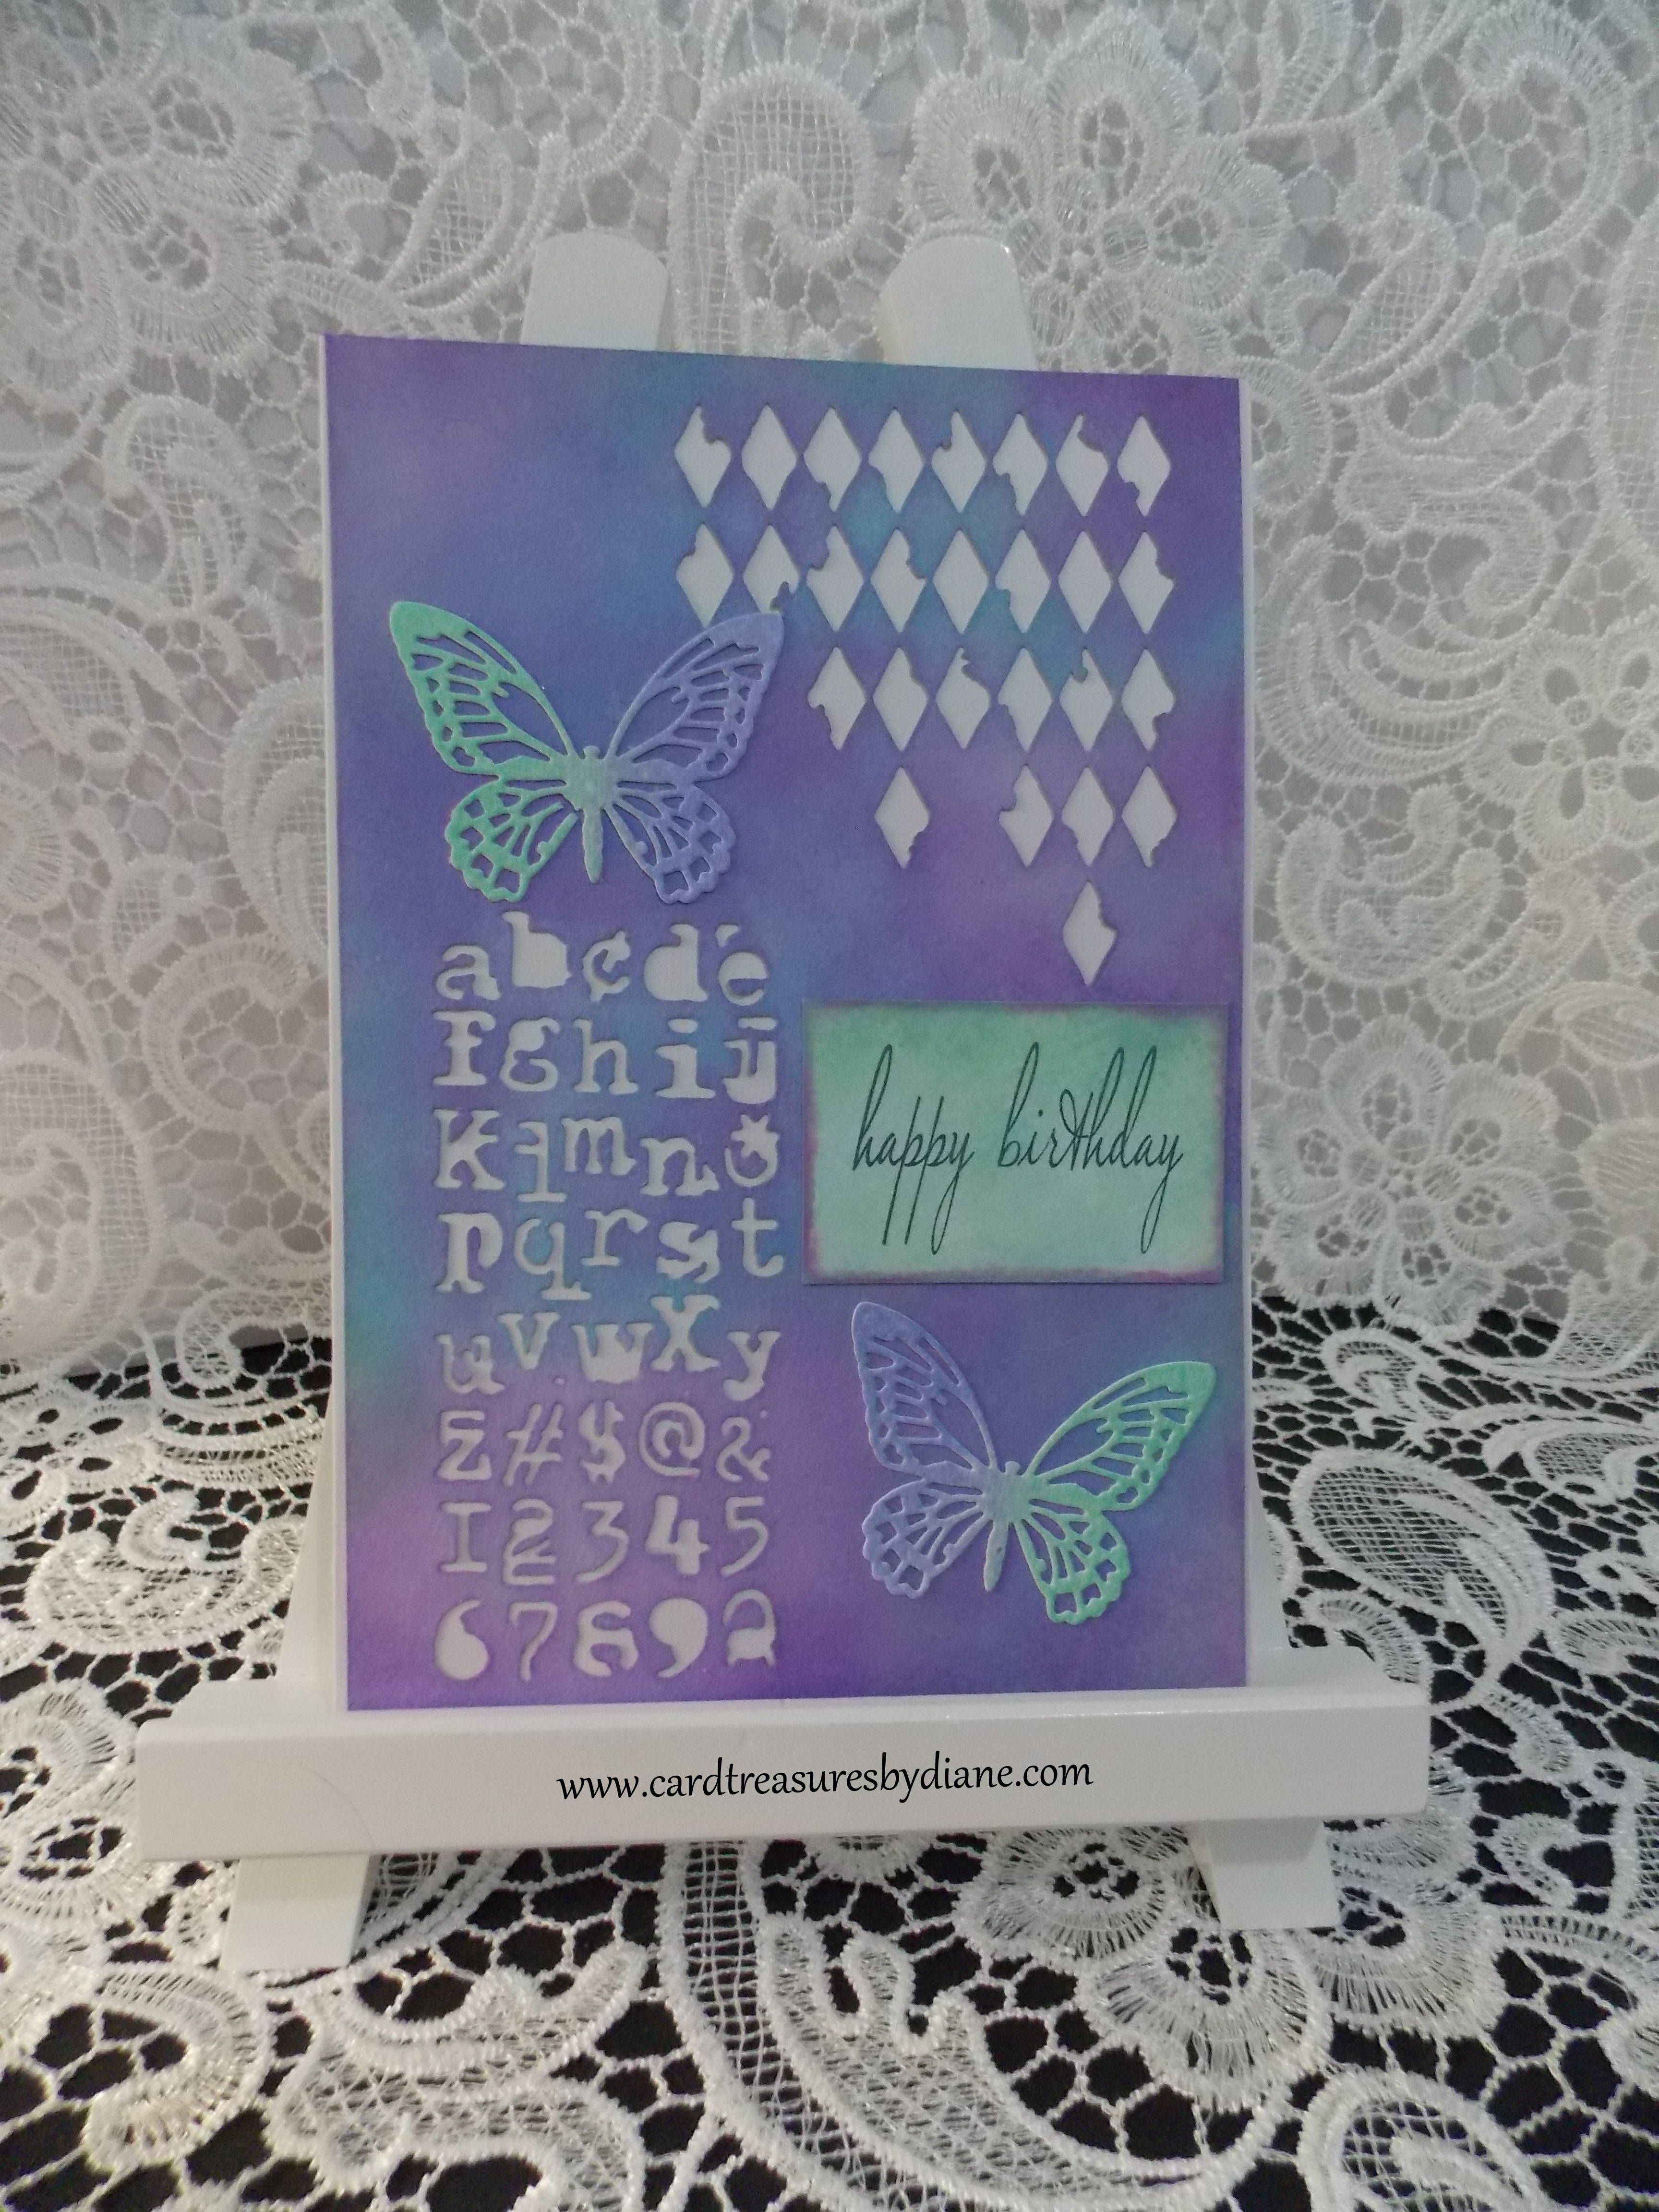
With this card, I used a blending tool and generously applied the Cracked Pistachio and Wilted Violet distress oxides onto the cardstock. I spritzed water over the cardstock and laid a paper towel on top of that to absorb the excess ink. This process was repeated until I got the look I wanted. A heat tool was used to dry the distress oxide inks in between each layer. What I’ve learned is that I need to be patient (is hard for me sometimes) when working with distress oxide inks. I’ll put a couple of layers down and think ‘that’s not going to work.’ But, if I’m patient, and add more layers, I’ll like the end result.

I found that the oxide inks on my finished card were coming off on my fingers as I touched the card. I know that these inks are reactive to water, so I didn’t want to spray something on the card that would change how it looked. I tried spraying a couple coats of Krylon Matte Finish* on top of the card (that’s always worked wonderfully to provide a protective finish on cards that I’ve created using alcohol inks). The oxides were no longer coming off on my fingers, and it didn’t change the card’s appearance, but I don’t know if that ultimately solved the problem. I need to try it on more cards to see how it works on them also.

(PLEASE NOTE: the Krylon Matte Finish has a “ball” inside of the can. The can needs to be shaken for about two minutes before you spray it. I read reviews on this product, and some reviewers said they skipped this step and ended up with a splotchy result.)

Also, there’s the problem that I live in a cold climate in winter. For my purposes, I need to spray Krylon Matte Finish outdoors, as the spray is VERY strong and has a lot of mist. That’s not going to be possible in -20 to -40 degree weather. The spray would literally freeze before it reached the card (seriously). If anyone knows another way to provide a protective finsh, I would appreciate hearing about it!!! I’m going to continue doing research on it.

My ‘Happy Birthday’ stamp had lost its grip, so I used  Aleene’s Tack-It Over & Over Temp Fabric Adhesive on the back of the stamp to adhere it to the Tim Holtz Tonic Stamp Platform. I learned a wonderful feature about this platform. I think I might have used too much of the adhesive on the stamp as it was a little bit hard to get the glue off the platform. I was able to detach the top of the platform, take it to my sink, and wash the adhesive off. So easy!!

Materials used:

  • Strathmore Watercolor Paper, Cold Press, 90 lb.
  • Core’dinations Cardstock, Bright White
  • Sizzix Tim Holtz Thinlits, Mixed Media, 660220
  • Siizzix Tim Holtz Thinlits, Mixed Media #3, 661186
  • Sizzix Tim Holtz Thinlits, Detailed Butterflies, Mini, 661802
  • Silhouette Hook (for getting little pieces of paper out of the Dies)
  • Distress Oxides: Cracked Pistachio and Wilted Violet
  • Ranger Tim Holtz Ink Blending Tool
  • Ranger Mini-Ink Blending Foam
  • Ranger non-stick Craft Sheet
  • Ranger Mister
  • Tim Holtz Tonic Stamp Platform
  • Stampabilities “Fancy Happy Birthday” Stamp, 760116-ER
  • Darice Heat Tool
  • Ranger Archival Ink, Jet Black
  • Scor-Tape: 1/8”, 1/4″, and 1/2″
  • Zig Memory Systems 2 Way Glue
  • Aleene’s Tack-It Over &Over Temp Fabric Adhesive
  • Krylon Matte Finish
  • Ranger Kraft Scrubbie

Machine: Sizzix Big Shot, with two cutting Pads and the magnetic platform.

I still NEED to make it to Michael’s-they’re having a fantastic sale tonight! I can do it!!! 🙂

Have a beautiful night!!!

Diane

Autumn Fairy

A Fiskars Leaf punch was sacrificed in the making of this card. 🙂 I’m going to enter this card in the September Lavinia Stamps Challenge. This month’s theme is Autumn Equinox. I’m keeping my fingers crossed …

Materials used:

  • Strathmore Watercolor Paper, Cold Press, 90 lb.
  • Core’dinations  Cardstock, Lake
  • Sizzix Tim Holtz Thinlits Mixed Media #3, 661186 (tree branches)
  • Lavinia Stamps: Fairytale, Field Grass, Bluebells (Tracey Lavinia Dutton is the artist of the Lavinia stamps.)
  • Ranger Tim Holtz Distress Inks: Ground Expresso, Broken China, Faded Jeans, and Chipped Sapphire
  • Ranger Tim Holtz Ink Blending Tool
  • Ranger Mini-Ink Blending Foam
  • Ranger Mister
  • Tim Holtz Distress Marker: Peeled Paint (the grass)
  • Cosmic Shimmer Gilding Flakes, Autumn Leaves
  • Small piece of Ranger Rub It-Scrub It Stamp Cleaning Pad (to press the gilding flakes onto the leaves)
  • Tim Holtz Distress Glitter, Peeled Paint (the green leaves)
  • Fiskars Leaf Lever Punch
  • Ranger Stickles: Turquoise, Rose Gold, and Diamond
  • Tombow Multi Mono Liquid Glue
  • Zig Memory System 2 way Glue
  • Scor-Tape: 1/8″, 1/4″, and 3/8″
  • Tim Holtz Tonic Stamp Platform (LOVE this!)
  • Ranger Archival Ink, Jet Black
  • Ranger non-stick Craft Sheet
  • Copic E47, Dark Brown
  • Tim Holtz Scissors: 5″ and 9.5″
  • Waverly Inspirations Plaid Glitter, Multi-surface Acrylic Paint, White Opal (the stars)
  • Ranger Craft Scrubbie (I was glad that I had this-it would have been very difficult to get the gilding flakes off my fingers without it.)

Machine: Sizzix Big Shot with two cutting pads and the magnetic platform.

Thanks for checking out my cards! Have a WONDERFUL day!!!

Diane