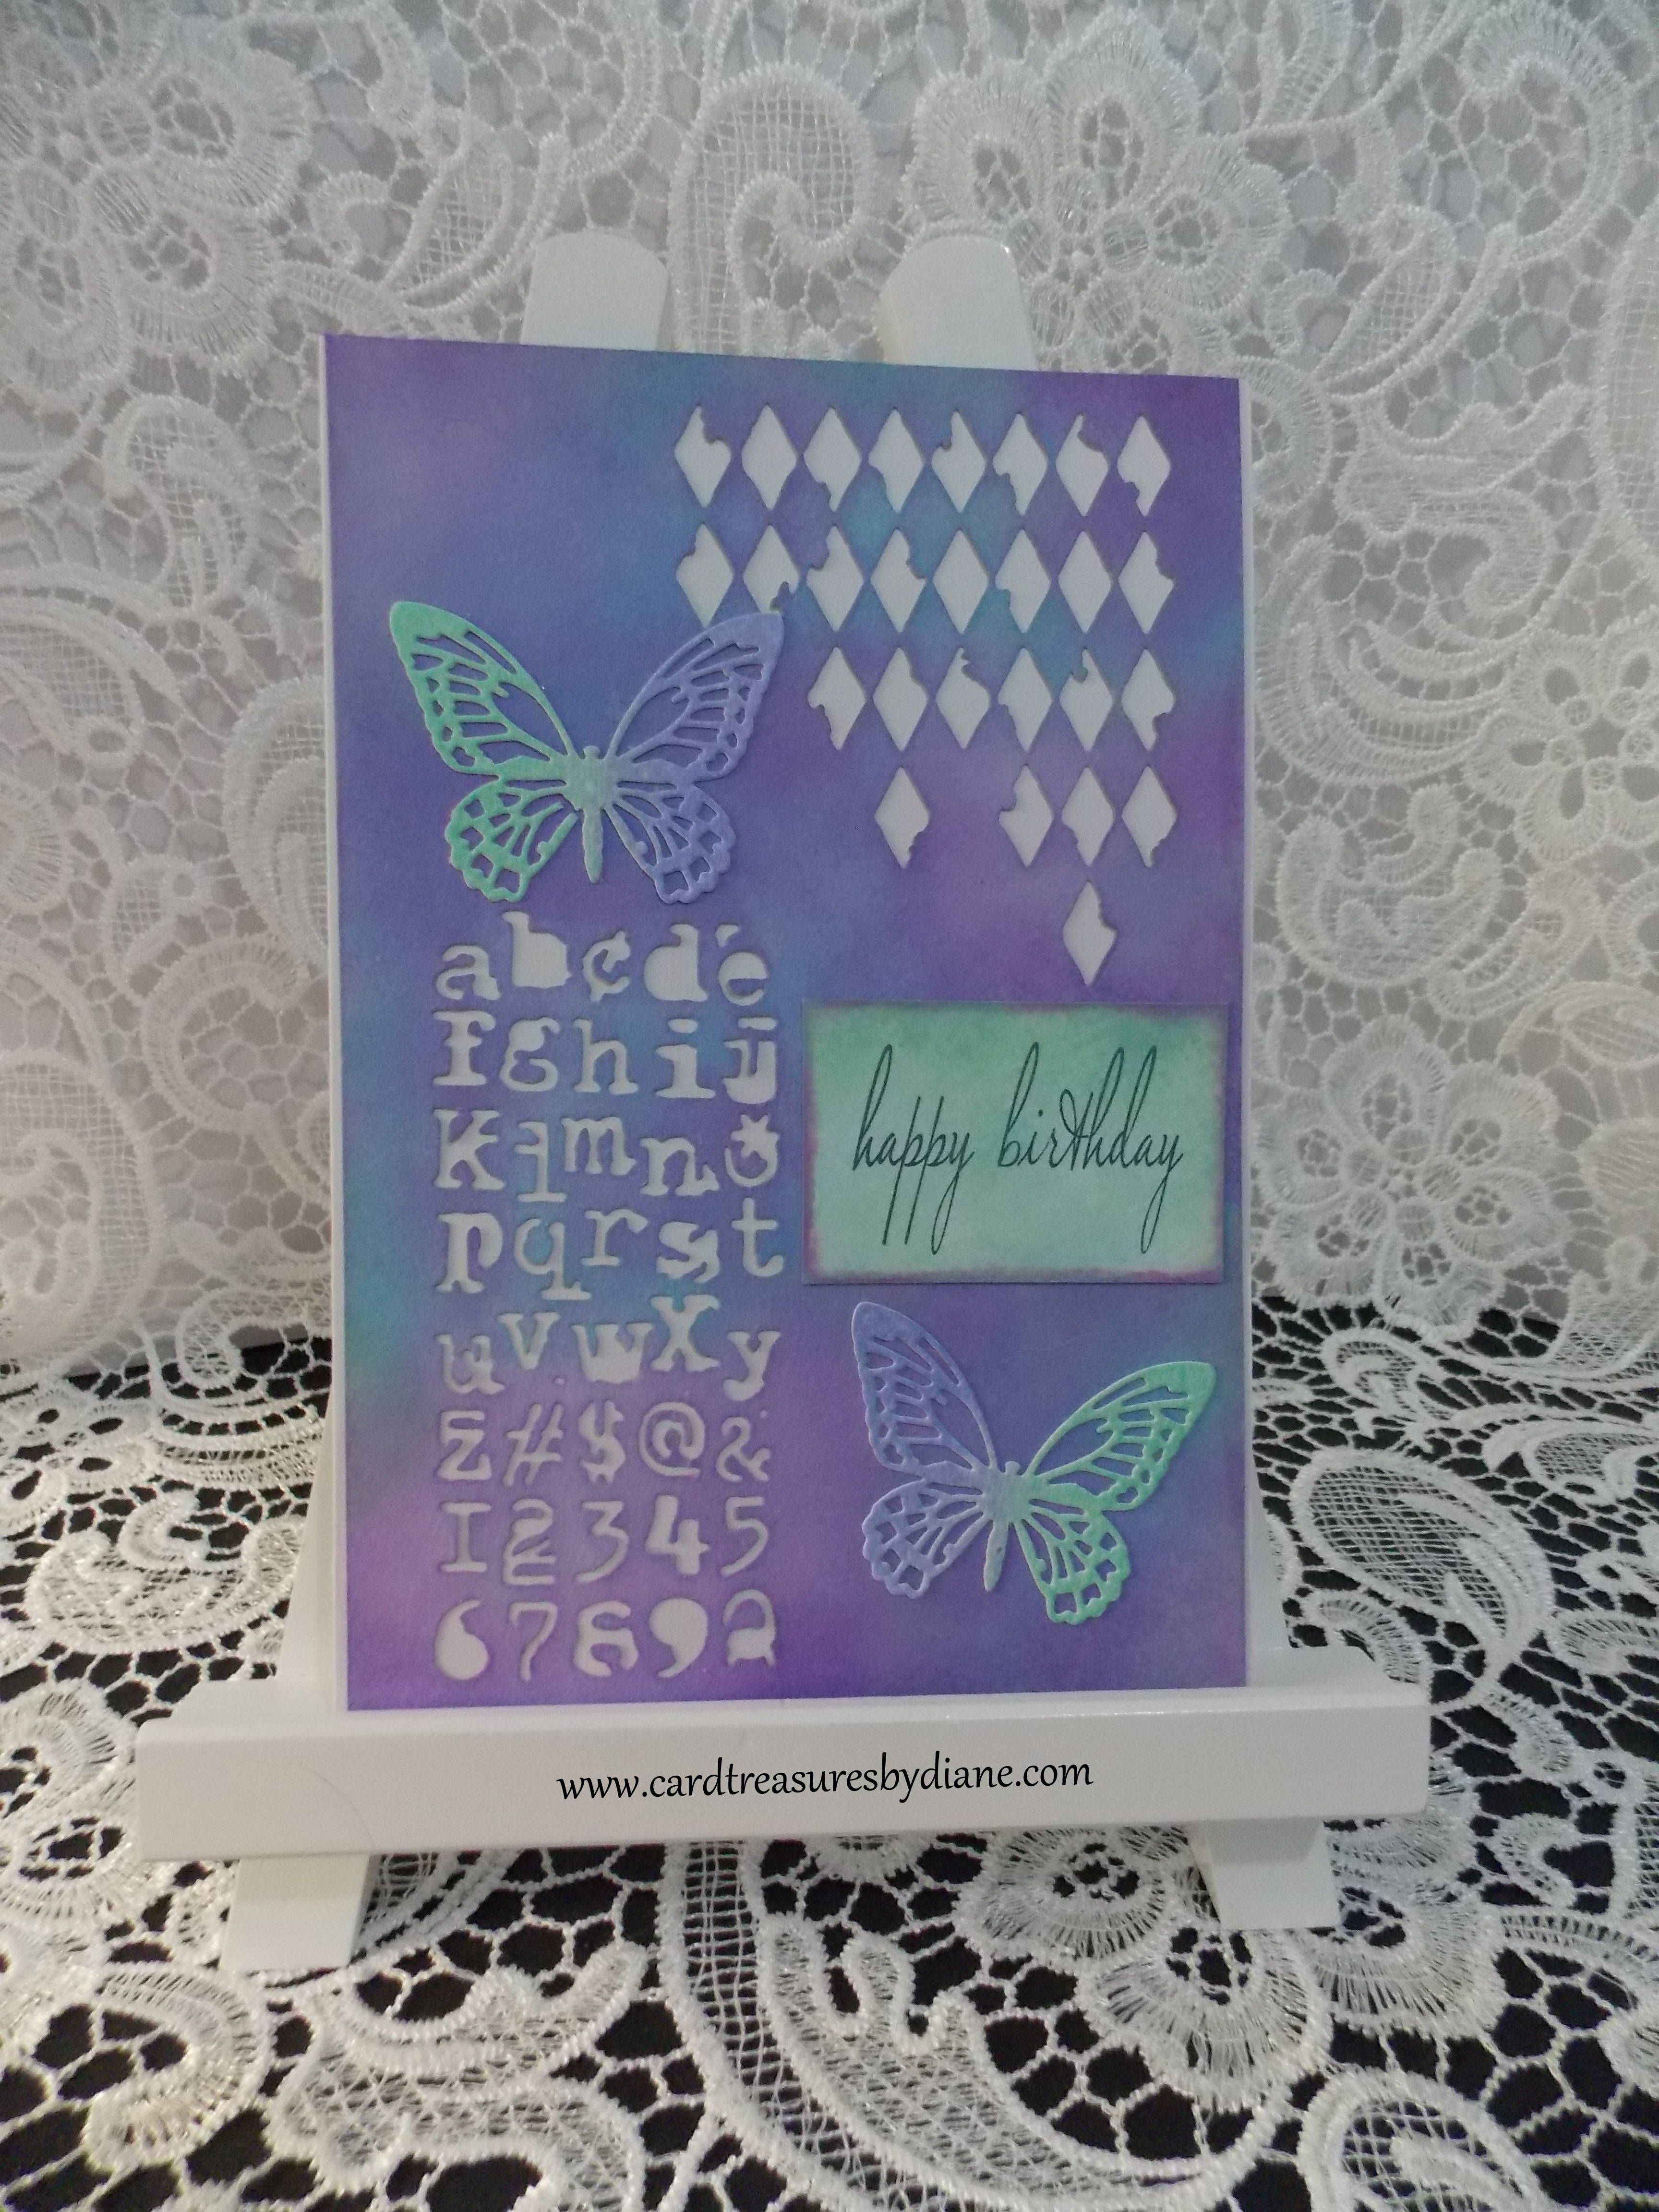
With this card, I used a blending tool and generously applied the Cracked Pistachio and Wilted Violet distress oxides onto the cardstock. I spritzed water over the cardstock and laid a paper towel on top of that to absorb the excess ink. This process was repeated until I got the look I wanted. A heat tool was used to dry the distress oxide inks in between each layer. What I’ve learned is that I need to be patient (is hard for me sometimes) when working with distress oxide inks. I’ll put a couple of layers down and think ‘that’s not going to work.’ But, if I’m patient, and add more layers, I’ll like the end result.
I found that the oxide inks on my finished card were coming off on my fingers as I touched the card. I know that these inks are reactive to water, so I didn’t want to spray something on the card that would change how it looked. I tried spraying a couple coats of Krylon Matte Finish* on top of the card (that’s always worked wonderfully to provide a protective finish on cards that I’ve created using alcohol inks). The oxides were no longer coming off on my fingers, and it didn’t change the card’s appearance, but I don’t know if that ultimately solved the problem. I need to try it on more cards to see how it works on them also.
(PLEASE NOTE: the Krylon Matte Finish has a “ball” inside of the can. The can needs to be shaken for about two minutes before you spray it. I read reviews on this product, and some reviewers said they skipped this step and ended up with a splotchy result.)
Also, there’s the problem that I live in a cold climate in winter. For my purposes, I need to spray Krylon Matte Finish outdoors, as the spray is VERY strong and has a lot of mist. That’s not going to be possible in -20 to -40 degree weather. The spray would literally freeze before it reached the card (seriously). If anyone knows another way to provide a protective finsh, I would appreciate hearing about it!!! I’m going to continue doing research on it.
My ‘Happy Birthday’ stamp had lost its grip, so I used Aleene’s Tack-It Over & Over Temp Fabric Adhesive on the back of the stamp to adhere it to the Tim Holtz Tonic Stamp Platform. I learned a wonderful feature about this platform. I think I might have used too much of the adhesive on the stamp as it was a little bit hard to get the glue off the platform. I was able to detach the top of the platform, take it to my sink, and wash the adhesive off. So easy!!
Materials used:
- Strathmore Watercolor Paper, Cold Press, 90 lb.
- Core’dinations Cardstock, Bright White
- Sizzix Tim Holtz Thinlits, Mixed Media, 660220
- Siizzix Tim Holtz Thinlits, Mixed Media #3, 661186
- Sizzix Tim Holtz Thinlits, Detailed Butterflies, Mini, 661802
- Silhouette Hook (for getting little pieces of paper out of the Dies)
- Distress Oxides: Cracked Pistachio and Wilted Violet
- Ranger Tim Holtz Ink Blending Tool
- Ranger Mini-Ink Blending Foam
- Ranger non-stick Craft Sheet
- Ranger Mister
- Tim Holtz Tonic Stamp Platform
- Stampabilities “Fancy Happy Birthday” Stamp, 760116-ER
- Darice Heat Tool
- Ranger Archival Ink, Jet Black
- Scor-Tape: 1/8”, 1/4″, and 1/2″
- Zig Memory Systems 2 Way Glue
- Aleene’s Tack-It Over &Over Temp Fabric Adhesive
- Krylon Matte Finish
- Ranger Kraft Scrubbie
Machine: Sizzix Big Shot, with two cutting Pads and the magnetic platform.
I still NEED to make it to Michael’s-they’re having a fantastic sale tonight! I can do it!!! 🙂
Have a beautiful night!!!
Diane