I created these cards using Echo Park Paper stencils, texture paste, and Picked Raspberry Distress Ink.
I was contacted by Paper-Garden.ca and asked if I’d like to choose two Echo Park Paper stencils to review. The two I chose were Balloons and Ice Cream Cone. This is the second set of cards I created for this review.
The stencils measure 6” x 6” and are very sturdy. I put texture paste on the stencils to create these cards. This is the first time that I have used texture paste, so it was a new experience. I wasn’t sure how to clean them so I watched a video by Tim Holtz. He said to leave stencils in a container with water for a bit, and I thought this was an excellent idea. Either I put too much texture paste on the stencils, or I left them in the container too long before wiping them off (or both things)…a rookie mistake. I ended up OCD-cleaning the stencils, and they held up really well.
You can find the Ice Cream Cone and Balloons stencils, as well as the full selection, at:
https://www.paper-garden.ca/categories/echo-park-paper/stencils.html
The method I used to create both cards: I put Picked Raspberry distress ink onto a non-stick craft sheet, sprayed Tattered Angels Glimmer Mist and then water on top of the distress ink. (When I’ve used Tattered Angels in the past, I’ve sprayed it on the project at the end. Sometimes it turned out; sometimes it looked splotchy. By adding it into the distress ink, it turned out with a perfect, even sparkle. I’m so proud of myself!)
(Please Note: The size is 6″ x 6″ for these two cards.)
Ice Cream Cone with Texture:
Materials Used Specific to this Card:
- Echo Park Paper ‘Ice Cream Cone’ 6×6 Stencil
- Bright Pink Ribbon, 1/4″
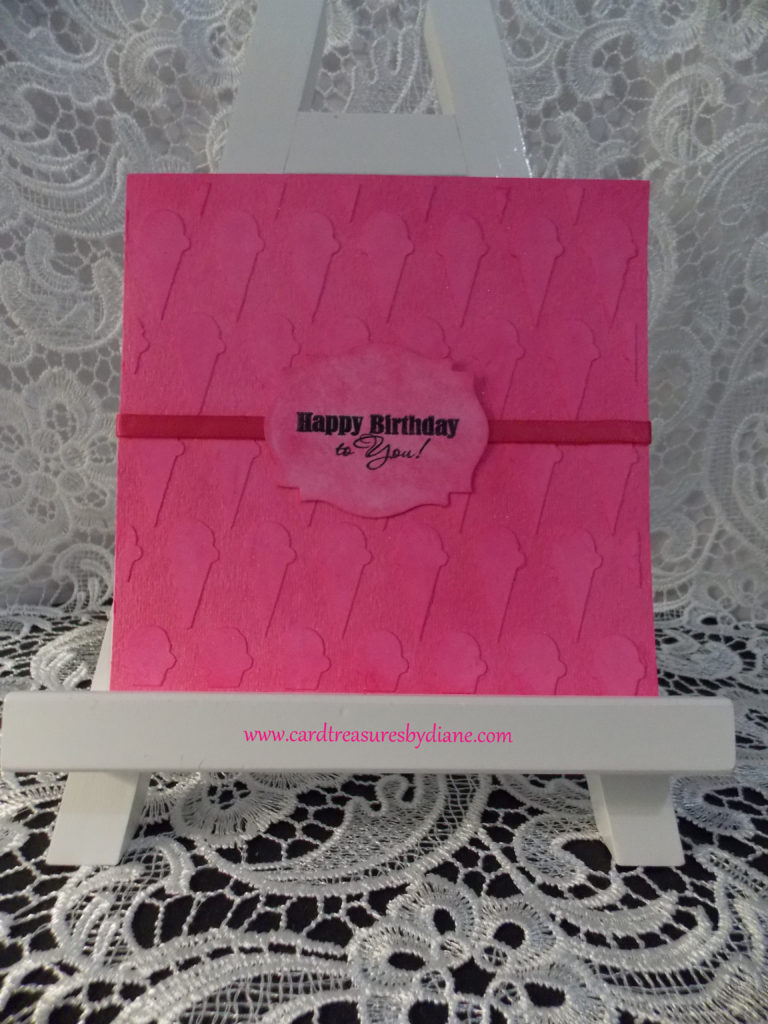
Balloons with Texture:
![]()
Materials Used Specific to this Card:
- Echo Park Paper ‘Balloons’ 6×6 Stencil
- Bright Pink Ribbon, 1/4″ and 1/2”
Materials and Machine I used for both cards:
- Bazzill Cardstock, Coconut Swirl
- Strathmore Watercolor Paper, Cold Press, 140 lb.
- Spellbinders Nestabilities, Labels Eighteen, S4-310
- Ranger Tim Holtz Distress Ink: Picked Raspberry
- Ranger Texture Paste (On the container, it says “Ranger Texture Paste…Build dimensional textures with stencils & more.”) You can add color to the paste-by adding some distress re-inker, as an example-before you use it. Or, color can be applied on top of the texture paste after it dries-I used the mini-blending tool with the distress ink.
- Stampendous Fran’s “Birthday Wish” Clear Stamp, SSC1115
- Ranger non-stick Craft Sheet
- Ranger Tim Holtz Mini Blending Tool with Blending Foam
- Tattered Angels Glimmer Mist
- Tim Holtz Tonic Stamp Platform (I’d be lost without this now.)
- Fiskars Procision Rotary Bypass Trimmer (12”)
- Martha Stewart Scoring Pad/Fiskars Dual-Tip Embossing Stylus
- Tim Holtz 5” and 7” Scissors
- Ranger Archival Ink, Jet Black
- Blue Painters Tape (to hold the stencils in place)
- Scor-Tape: 1/8”, 1/4”, 1/2″, and 3/8”
- Baby Wipes and Paper Towels
Sizzix Big Shot, with two cutting pads, and the magnetic platform.
Thanks for stopping by! Have a wonderful day!!!
Diane