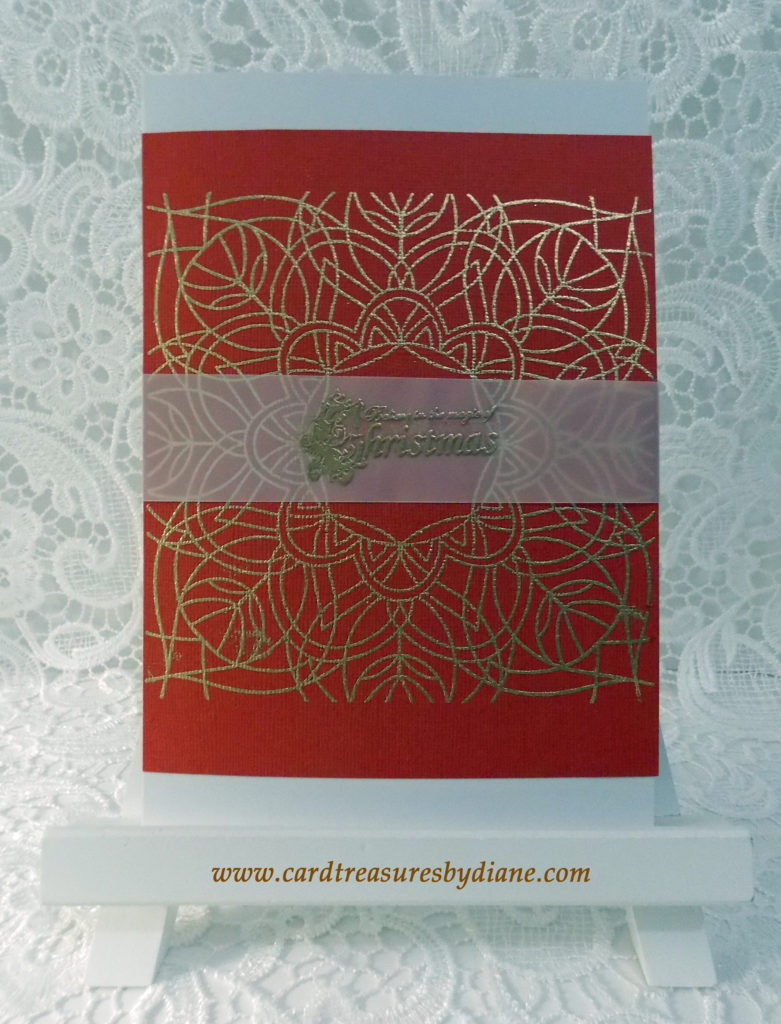
Believe in the Magic of Christmas

I created this card using the Center Cut Kaleidoscope stamp, Gold Embossing Powder, and the Believe in the Magic of Christmas stamp.

I began by rubbing the surface of the red cardstock with an Embossing Buddy. This prevented extra embossing powder from sticking to the cardstock. Next, I inked the Center Cut Kaleidoscope stamp with the VersaMark Watermark Stamp Pad. This provided a clear translucent ink for the embossing powder. I placed the stamp on the red cardstock, sprinkled gold embossing powder over the surface, removed the excess embossing powder, and heat embossed the stamped image.

I repeated the process with the Believe in the Magic stamp. But, vellum can warp easily, so I heat embossed it from the back and only a few seconds on the front, being careful not to get to close. I anchored the vellum with the 3/8” Scor-Tape behind the red cardstock. I also put a 1/4″ piece of Scor-Tape, about an inch long, behind the Believe in the Magic stamped image to anchor the vellum to the red cardstock.

Materials Used:

  • Park Lane White Paperie, White Core, Smooth, 110 lb.
  • Red Cardstock
  • Center Cut Kaleidoscope, Simon Says Stamp, SSS101766
  • Believe in the Magic of Christmas, Stampabilities, 1009067-ER
  • VersaMark Watermark Stamp Pad
  • Ranger Gold Embossing Powder
  • Darice Heat Tool
  • Embossing Buddy
  • Vellum
  • Scor-Tape: 1/4″ and 3/8”

Christmas Blessings

For this card, I followed the same process as the previous card, but I added a couple brads on each side. I also used the Christmas Blessings Stampabilities stamp (1009083-ER).

I can’t believe that it’s going to be 2020 in just a few hours. Have a wonderful New Year’s Eve and New Year!!!

Diane

Blessed

Merry Christmas to you and yours!!! Have a wonderful holiday season!

Lavinia Stamps Used: Stag, Forest Scene, Christmas Blessings, and Birds. (Tracey Lavinia Dutton is the artist of the Lavinia stamps.)

Diane

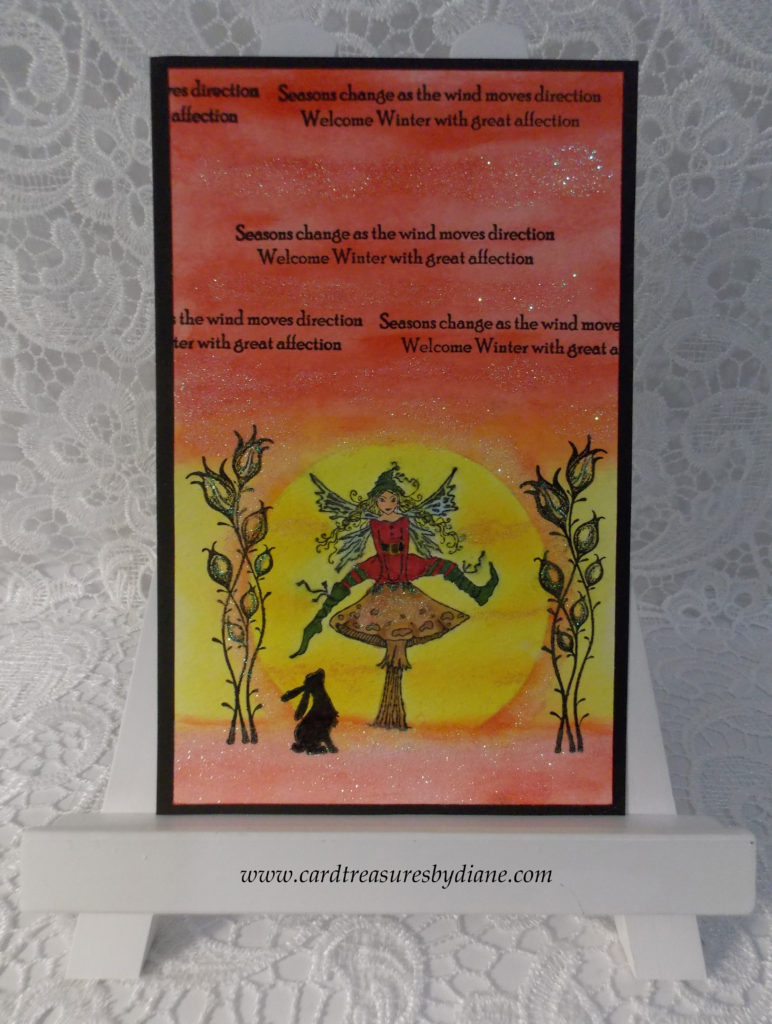
A Winter’s Play

I created this card using Lavinia stamps, Copics, Distress Inks, and Picket Fence Studios Life Changing Blender Brushes.

This was the first time I had used the blender brushes. I hesitated at first in buying them because they are pricey, but my curiosity got the better of me. I decided to buy the 10-piece set because I wanted the smaller brushes, too. These brushes do make the blending of inks much easier and NO marks. Also, after I stamped and colored the fairy image, I was able to use one of the smaller brushes to apply yellow distress ink around the fairy and mushroom. I really like these brushes! I’ve only had them a couple weeks, so I’m hoping they have longevity.

I started by stamping the fairy (and mushroom) with Memento ink. I planned to color her with Copics, and I’ve found this ink works best-doesn’t smear. After I colored her, and used a small blender brush to apply the yellow distress ink around her, I applied more yellow ink to the page with a larger brush. Next, I applied Barn Door distress ink above and below the fairy. To create the pink snow on the ground, as well as other areas that I wanted to add sparkle, I used a paintbrush to apply FlitterGlu and then sprinkled embossing powder on top.

The sun was created by using a blender brush to sponge Barn Door distress ink around an acetate circle. I added three lines of Mustard Seed distress ink to the sun and then wished I hadn’t. But, I blended it a lot and accepted the fact that it gave the sun character. I stamped the rest of the Lavinia stamps with Nocturne VersaFine Clair ink and added some Stickles to the Star Blossom images.  A Gelly Roll pen was used to outline the sun, as well as the fairy’s wings, to add more sparkle.

I attached the watercolor paper to the cardstock base with Scor-Tape, and my Christmas fairy card was done!

Materials Used:

  • Strathmore Watercolor Paper, Cold Press, 110 lb.
  • Black Cardstock Base
  • Lavinia Stamps: Hop Skip and a Jump, Red Leaves, Pipin, and Star Blossom (Tracey Lavinia Dutton is the artist of the Lavinia stamps.)
  • Ranger Tim Holtz Distress Inks: Squeezed Lemonade, Mustard Seed, and Barn Door
  • Copic Markers: Fairy dress, tights, and shoes-R46 and YG67; belt buckle-YR23 and Black 100; fairy wings-B0000 and B000; skin-E00, E21, and R02; hair-Y02; mushroom-E30, E31, E35, E57, and Y28
  • Picket Fence Studios Life Changing Blender Brushes
  • Memento Ink, Tuxedo Black (to stamp the fairy)
  • VersaFine Clair Ink, Nocturne
  • Tim Holtz Tonic Stamp Platform
  • Martha Stewart Scoring Pad/Fiskars Dual Tip Embossing Stylus  
  • IndigoBlu FlitterGlu
  • Ranger Embossing Powder, Holographic
  • Ranger Stickles, Crystal
  • Stardust Gelly Roll Pen, Sakura, Clear
  • Scor-Tape: 3/8”
  • Baby Wipes/Paper Towels

Thanks for stopping by my website! Have a BLESSED day!

Diane